How To Install LibreOffice
LibreOffice is an Open Source office suite that works in almost all major computing platforms. The applications in the suite include a word processor Writer, a spreadsheet manager Calc, a presentation creator Impress, a drawing tool draw, a formulae creator Math and a database management system Base. This free and light office program is available in over 110 languages and is the first choice for open source enthusiasts.
Use the buttons below to navigate through the lesson
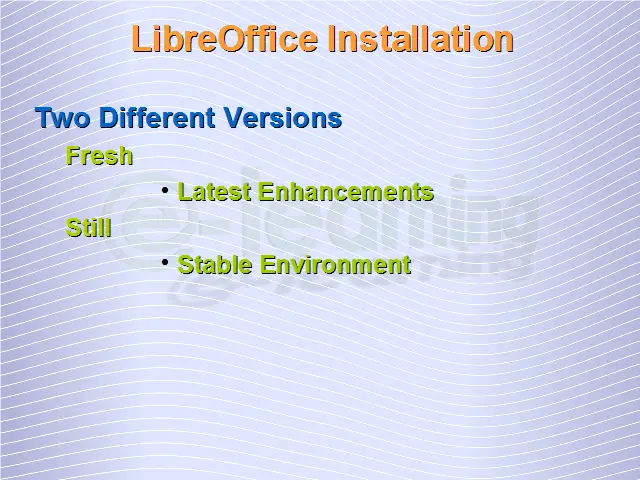
LibreOffice package is available in two different versions – “fresh” and “still”. The “fresh” version consists of the latest enhancements that have been made since the latest release and the “still” version is for people who want to operate in an older yet more stable environment. In this tutorial, we would be seeing the installation procedure of the LibreOffice fresh version 4.3.5 for Windows. But before we can begin, we need to know the software and hardware prerequisites.
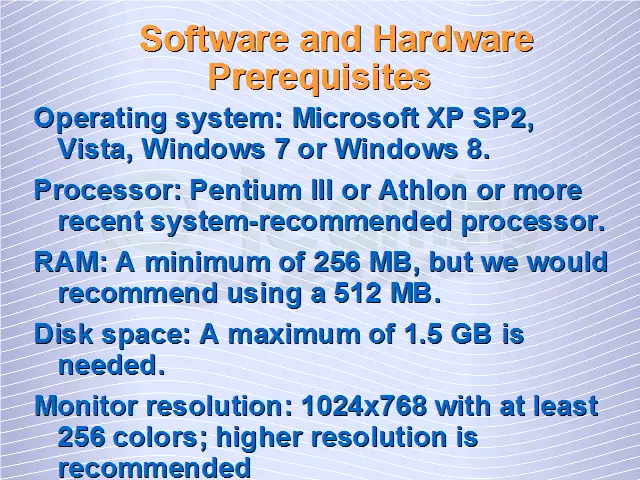
- Operating system: Microsoft XP SP2, Vista, Windows 7 or Windows 8.
- Processor: Pentium III or Athlon or more recent system-recommended processor.
- RAM: A minimum of 256 MB, but we would recommend using a 512 MB.
- Disk space: A maximum of 1.5 GB is needed.
- Monitor resolution: 1024x768 with at least 256 colors; higher resolution is recommended
- For some programs, especially Base, Java is required.
- Administrator privilege is required.
As good practice, we would recommend you backup all your data before you begin the installation of any software.
The installation procedures are simple and straightforward. Follow these steps with me.
I am using Google Chrome Browser on Windows 8.1. If you have a different configuration the first part of this tutorial may look slightly different.
Step 1:
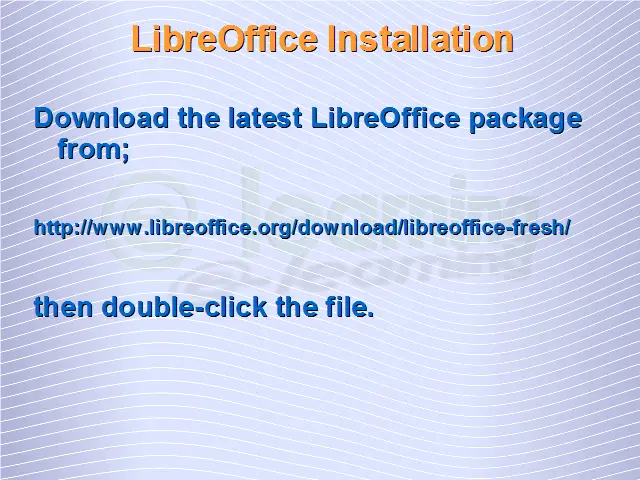
Download the latest LibreOffice package from here and save it in a directory on your system. If you already have the setup file of the package in your system, then double-click it.
Step 2:
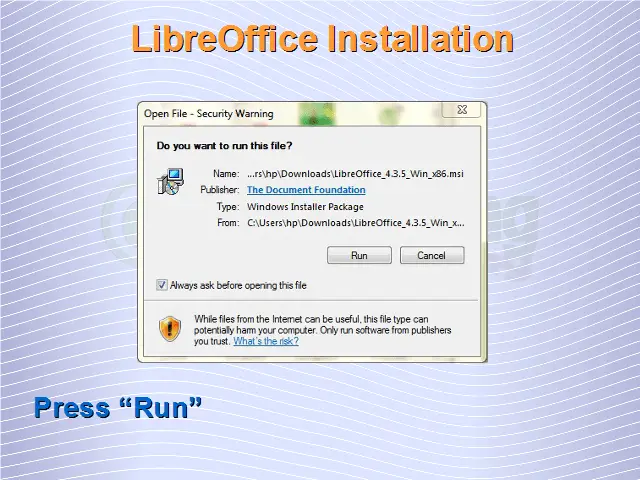
When the setup file starts, you will be getting a dialog box asking if this file can be run in your system. Press “Run”
Step 3:
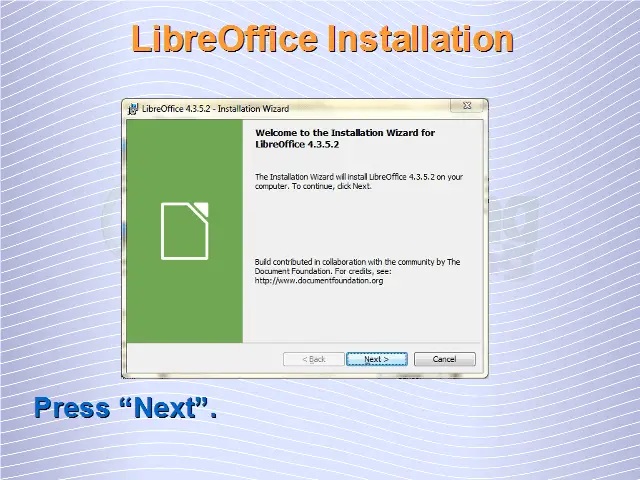
The setup file begins to run in your system and in a minute a welcome dialog box would pop in your screen. Press “Next”.
Step 4:
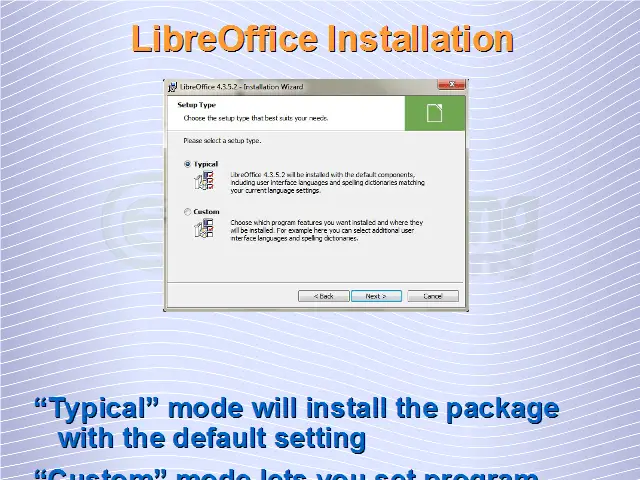
The next step involves you selecting the mode of installation- typical or custom. “Typical” mode will install the package with the default setting and configurations while the “Custom” mode lets you set program features that you want to be installed.
Step 5.1:
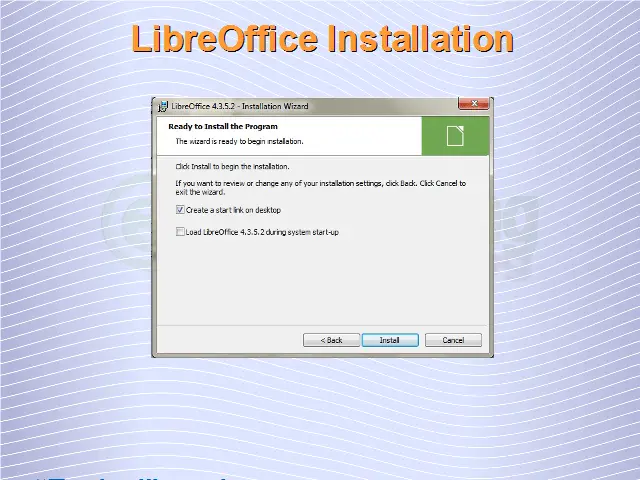
If you choose the “Typical” mode of installation you would be straightaway directed to the “Installation Wizard”. Check the relevant options for you and press “Install” for the installation to start.
The installation will begin right away in the “Typical” mode.
Step 5.2:
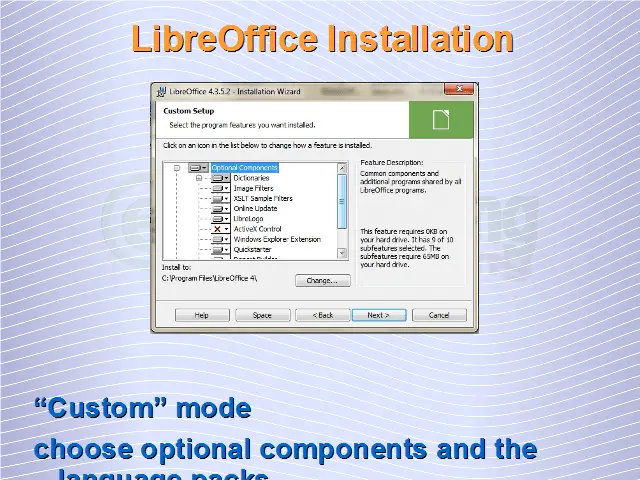
If you choose “Custom” mode of installation, you would be looking at custom setup dialog box asking you to choose optional components and the language packs.
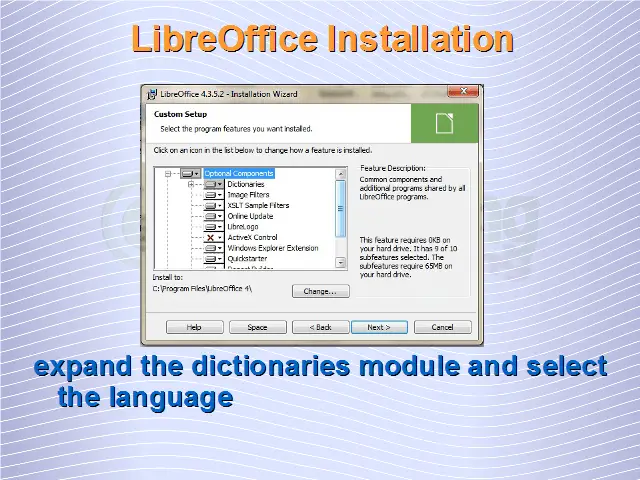
Click on the dropdown arrow near the icon and select the type of installation of the components. There are some components that are installed by default. You can choose to not install it by the setting the icon to the red cross as shown in the picture. For example, you can expand the dictionaries module and can select the languages you want.
In the same step, you can select the additional user interface language. By default, the package will have English and the language of the operating system as interface languages. You can select more or remove one of them as per your preference.
As you can see in the description to the left, when you select a component or the language you want to install, the wizard will automatically calculate the amount of space required to install that particular component in your hard disk. When you are done with the selection of languages, continue with the installation by pressing “Next”.
Step 5.3:
The next step will open up a dialog box asking if you want to set LibreOffice as the default office program. It means that, if you check “Microsoft Word Documents”, you will open a Word document in LibreOffice. By default, all the boxes will be unchecked. After choosing, press “Next”.
You will be getting the dialog box mentioned in Step 5.1 after all the customization. Check the appropriate boxes and click “Install”.
Step 6:
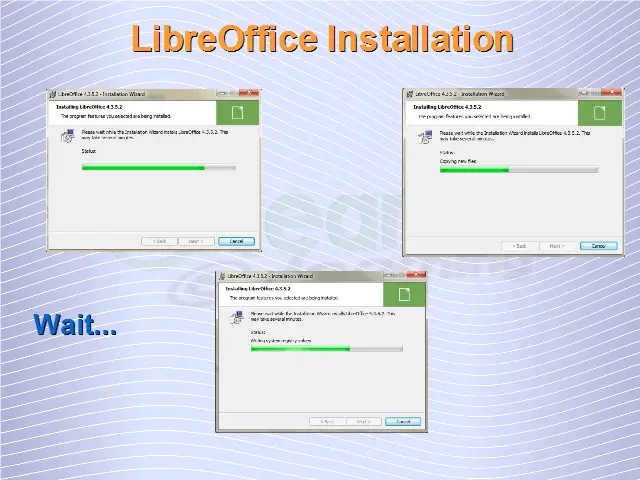
Step 6 involves waiting. The installation would begin and depending on the speed of your computer this may take several minutes.
Step 7:
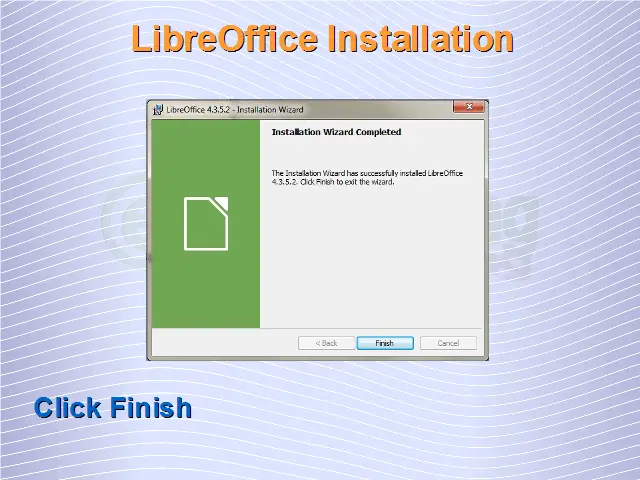
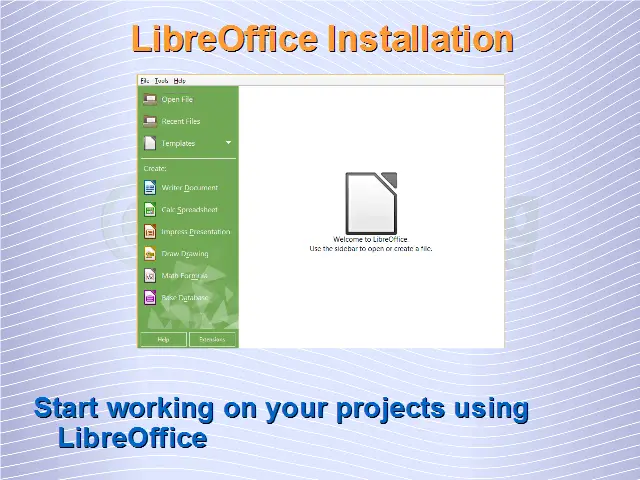
If you get this dialog box, then your installation is successful and complete. Click “Finish” and start working on your projects using the all new LibreOffice.
Learn more about other options available, click here: Office Software Packages
