What Is CSS?
 This is the third part of a series in which we learn how to make websites. If you haven’t completed Part Two then you should do that first. In Part Two we made a very simple website consisting of a couple of HTML files on our own computers – you’ll need that website to continue, as we’re going to build on it in this part.
In this lesson we learn about one of the main types of data websites send to our computers over the internet: CSS.
Use the buttons below to navigate through the lesson
We now have a basic knowledge of HTML – enough to start working on more advanced topics.
We would like to make our website look more attractive. The best way to do this is using a technology called CSS.
CSS stands for Cascading Style Sheets. Let’s look at what this means.
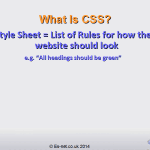
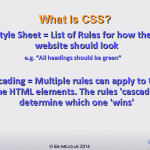
A ‘style sheet’ is a list of rules for how we want our webpage to look. For example, we might have a rule that says “all headings are green”, or one that says “put a big space between every paragraph”.
What does it mean that our style sheets are “cascading”?
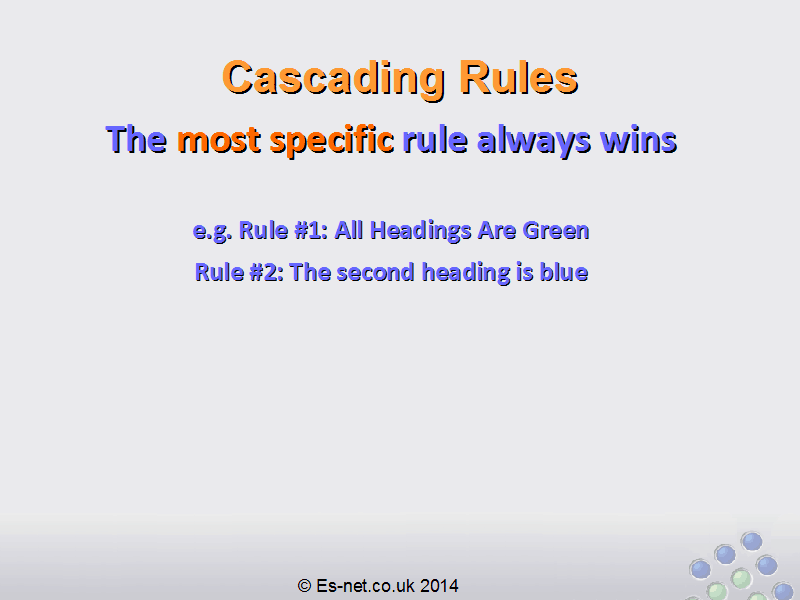
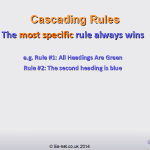
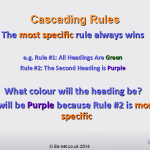
In this context, ‘cascading’ means that we can have multiple rules applying to the same piece of HTML, and the rules will ‘cascade’ to determine which one wins. In CSS the most specific rule always wins. Let’s understand this with an example:
If I have two rules like this:
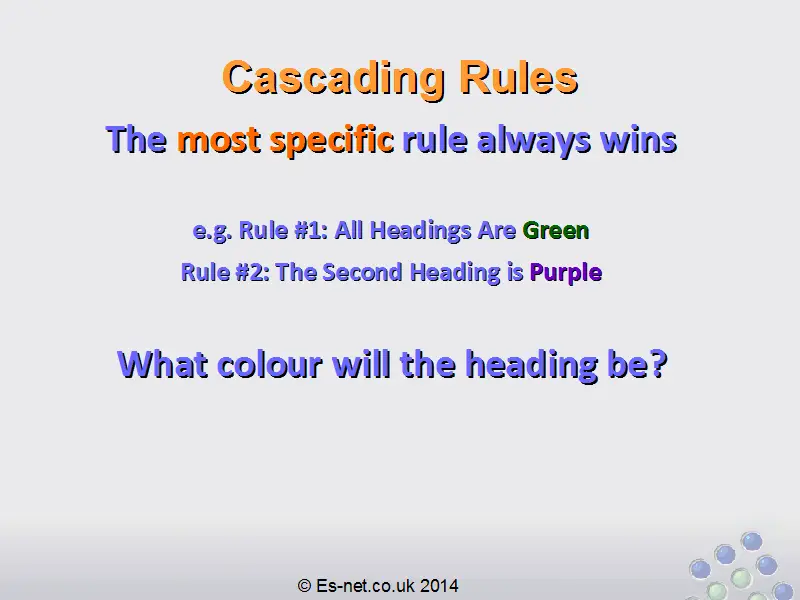
- All headings are green
- The second heading on the page is blue
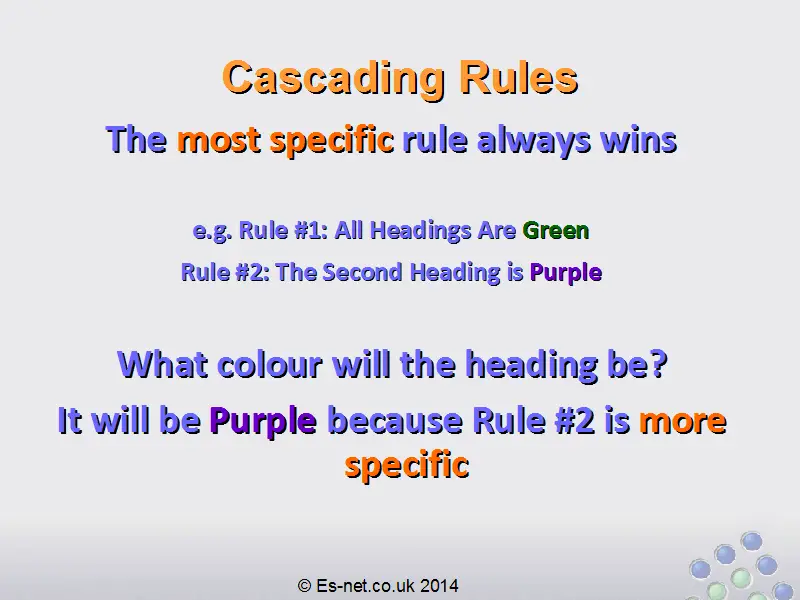
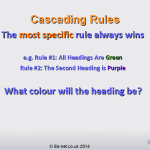
Then what colour will the second heading be? These two rules contradict each other: it can’t be both green and blue!
Because the most specific rule always wins we can see that the second rule is going to be used. The second rule is more specific: it only applies to the second heading. So on our page all the headings will be green, except for the second which will be blue.
This is an example of the ‘cascading’ effect of the rules in our style sheets.
What kind of rules can we put in our style sheets?
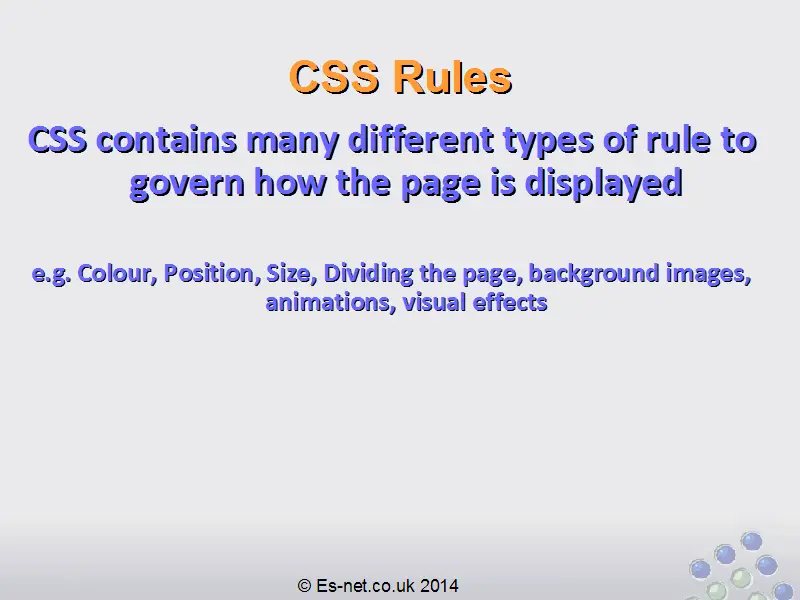
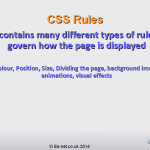
CSS contains many possible rules and is very powerful. Here are just some of the rules we can apply:
- Colour of items on our page
- Position of items on our page
- Size of items
- How parts of the page are divided up
- Background images
- Animations
- Visual effects, e.g. rounded corners
Example CSS
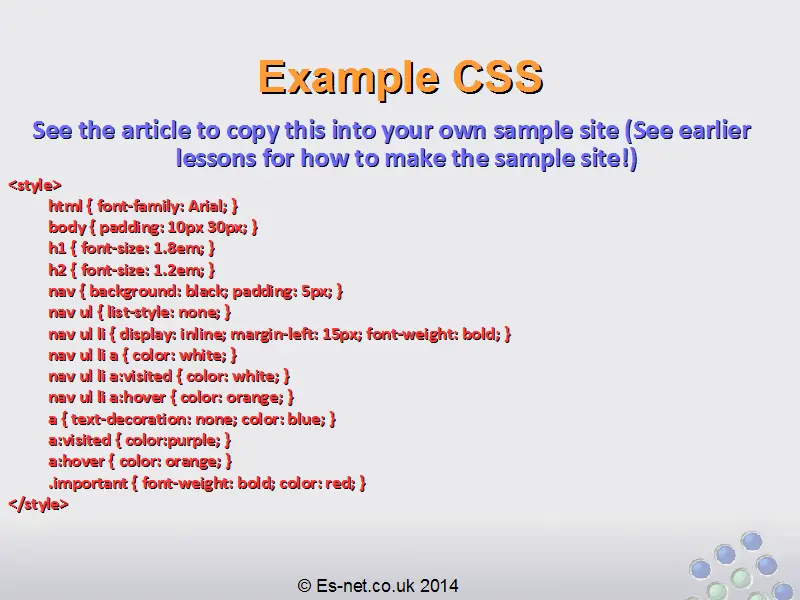
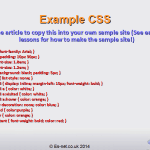
Here is the CSS we have added to our site so far. At the moment it lives in the <style> tag in the <head> section of our HTML. We will look at a better place to put it in a later lesson.
<style>
html { font-family: Arial; }
body { padding: 10px 30px; }
h1 { font-size: 1.8em; }
h2 { font-size: 1.2em; }
nav { background: black; padding: 5px; }
nav ul { list-style: none; }
nav ul li { display: inline; margin-left: 15px; font-weight: bold; }
nav ul li a { color: white; }
nav ul li a:visited { color: white; }
nav ul li a:hover { color: orange; }
a { text-decoration: none; color: blue; }
a:visited { color:purple; }
a:hover { color: orange; }
.important { font-weight: bold; color: red; }
</style>
This is a list of rules. Let’s look at some of them to understand how a rule is made up.
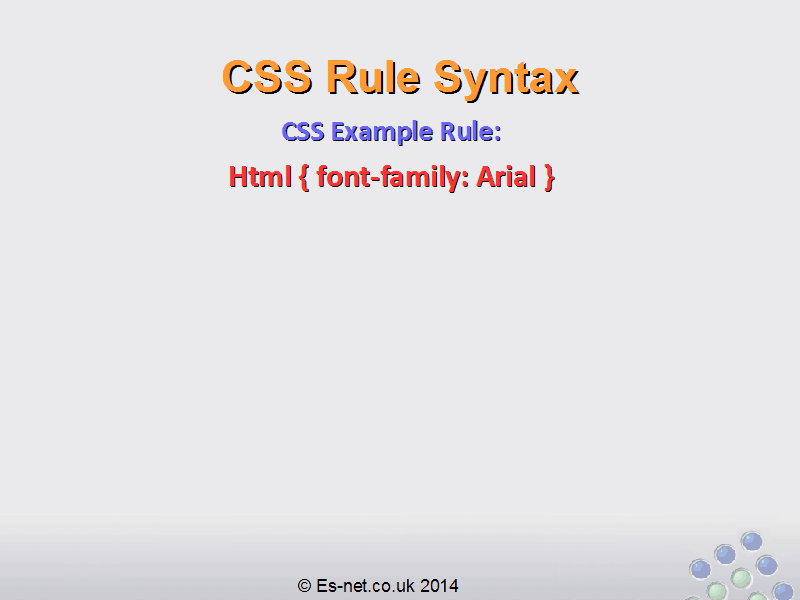
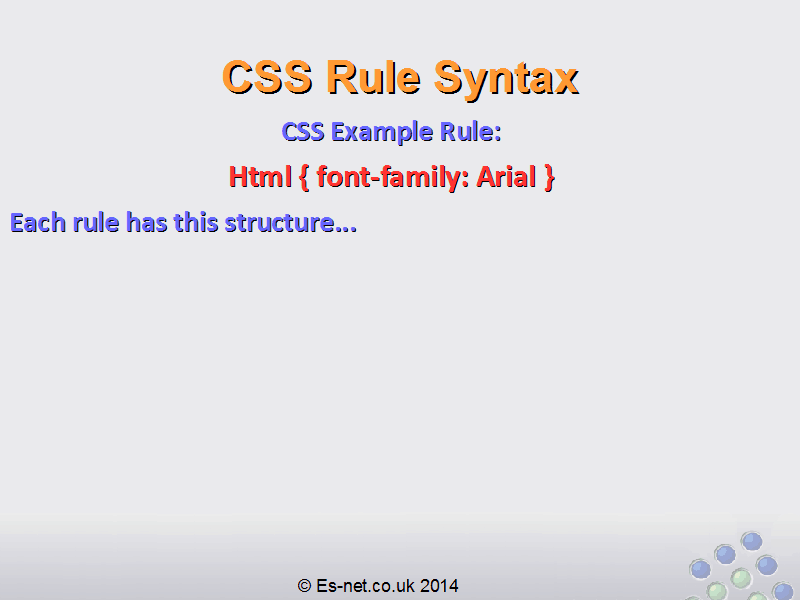
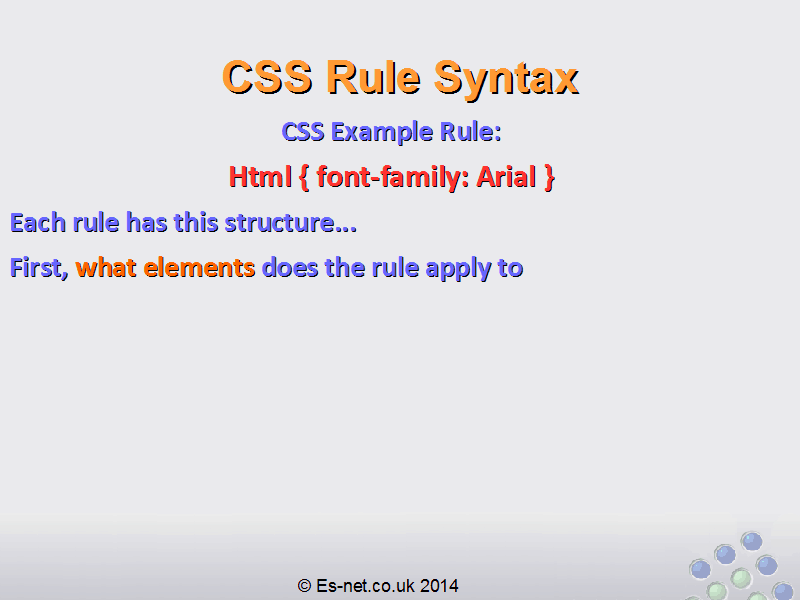
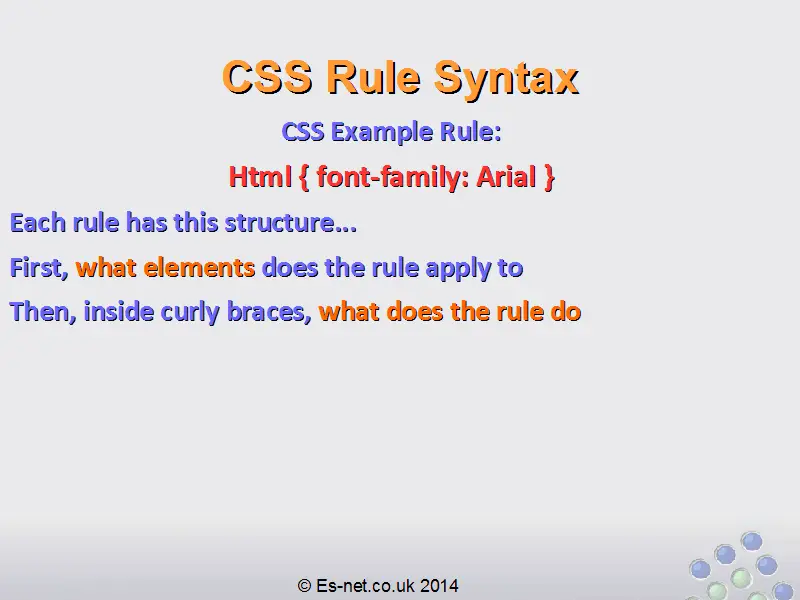
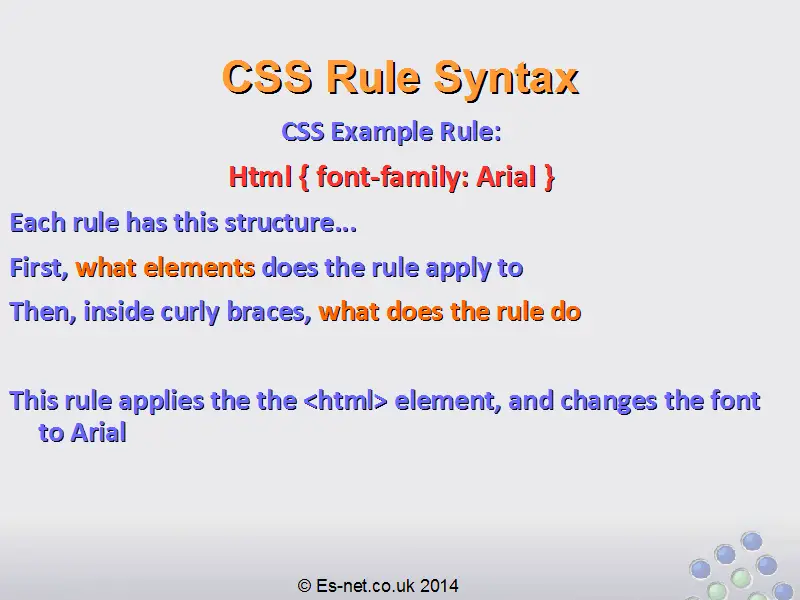
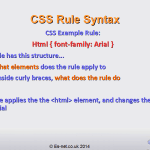
html { font-family: Arial; }
Each rule has this structure: first it describes what HTML elements the rule applies to. Then, inside curly braces “{” and “}” it describes what the rule does.
So this first rule applies to the HTML element “html”. Remember the <html> tag we learned about? This tag contains ALL the html for our whole webpage. So any rules we put in the “html” rule apply to every element on the page.
What does this rule do?
Each CSS rule has a property and a value. In our example, the property is “font-family” and the value is “Arial”.
Properties are defined by CSS, so we have to use the correct properties to get the effect we want.
In this case, the CSS property “font-family” lets us set the font on any element. In this case, we are setting it to the font ‘Arial’.
So our rule
html { font-family: Arial; }
sets the font for anything within the <html> tag to be Arial.
Let’s look at another rule:
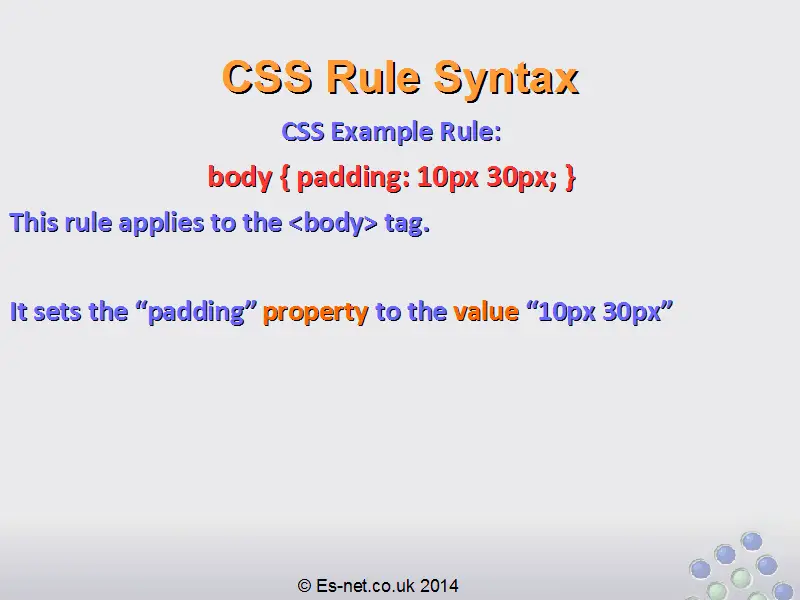
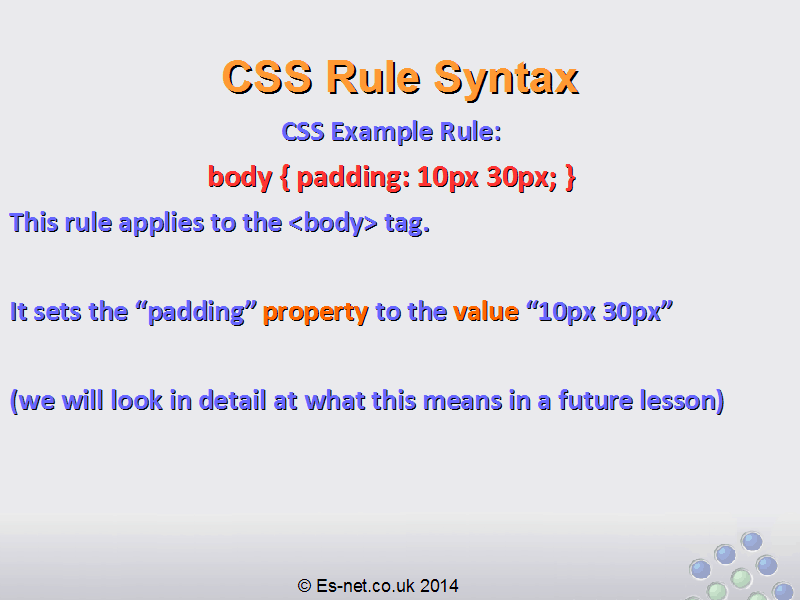
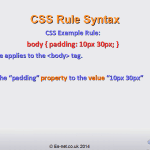
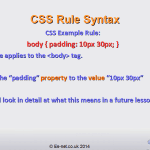
body { padding: 10px 30px; }
This rule applies to the <body> tag. It is setting the padding property to the value “10px 30px”.
We will look in more detail at properties like “padding” in later lessons. For now we just want to understand how these rules are formed.
Finally look at this rule:
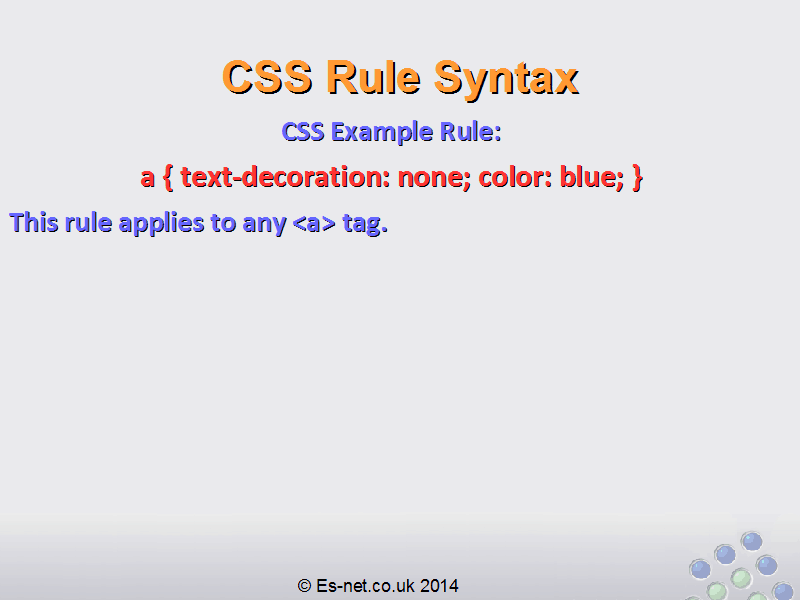
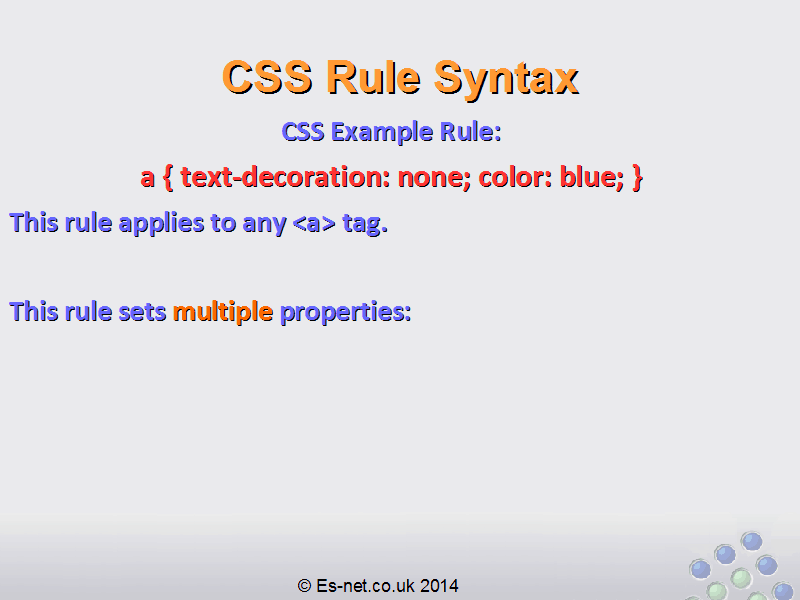
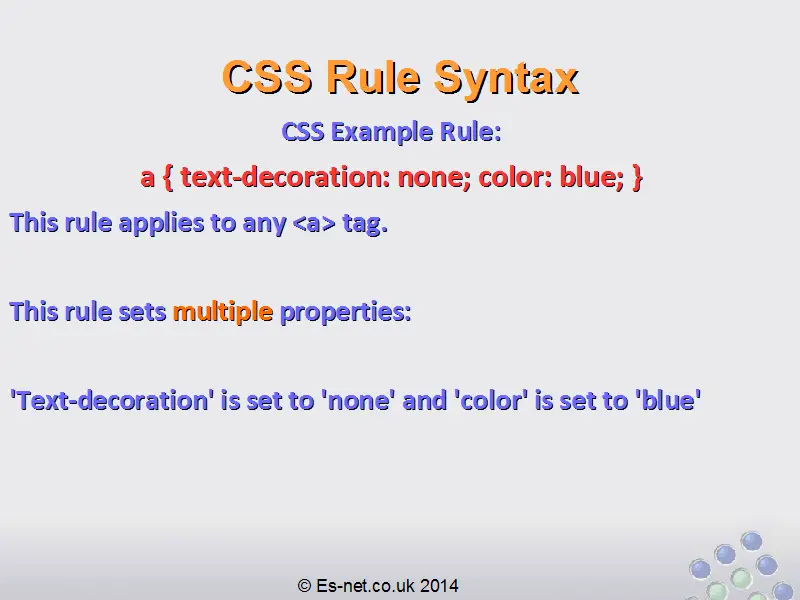
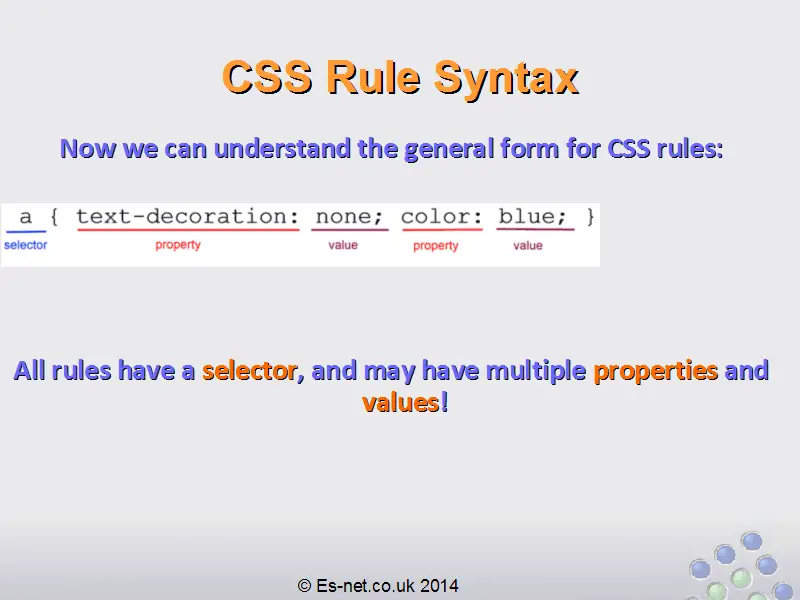
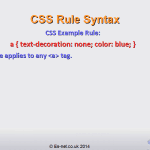
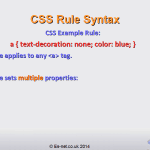
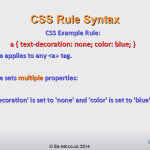
a { text-decoration: none; color: blue; }
This rule applies to the <a> tag. This rule sets more than one property. It sets “text-decoration” to “none”, and “color” to “blue”.
So we can set multiple properties by putting a semi-colon “;” between them in our rule.
In this case, we are setting all links on the page (remember, links are defined by the <a> tag!) to have no decoration (i.e. no underline) and to be blue.
CSS Rule Structure
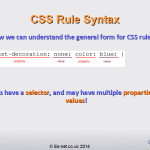
Now we can see how our rules are created. First there is a selector, which tells the browser which elements to apply the rule to. Then there is a list of properties and values.

In the next lesson we will learn more about selectors in detail.
