Understanding Presentations – Slide Transition
Add, remove transition effects between slides.
Slide transitions represent the effects which are displayed when we move from one slide to another in a presentation. Slide transition effects can be both added as well as removed according to the presenter’s requirements.
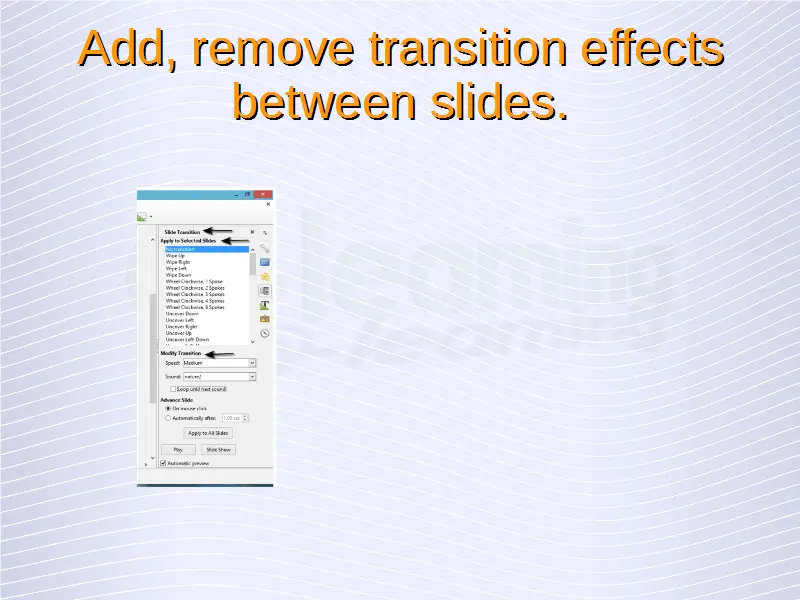
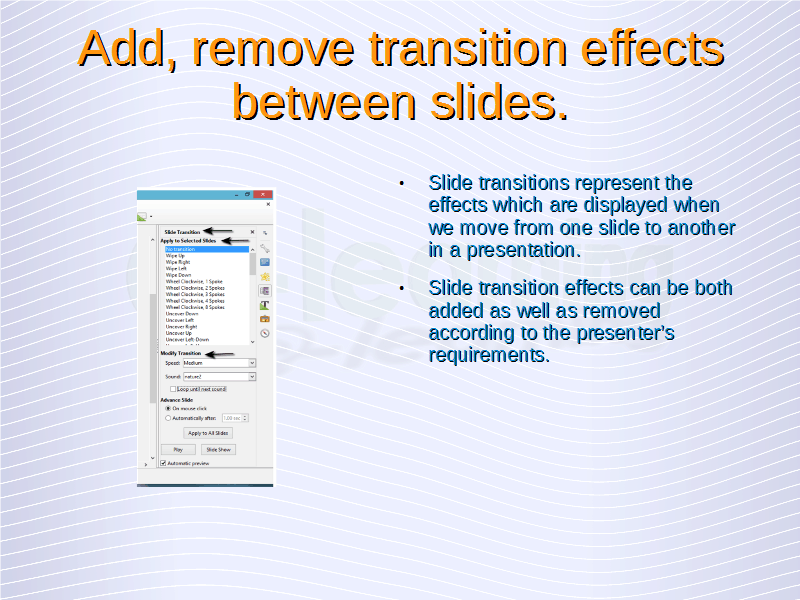
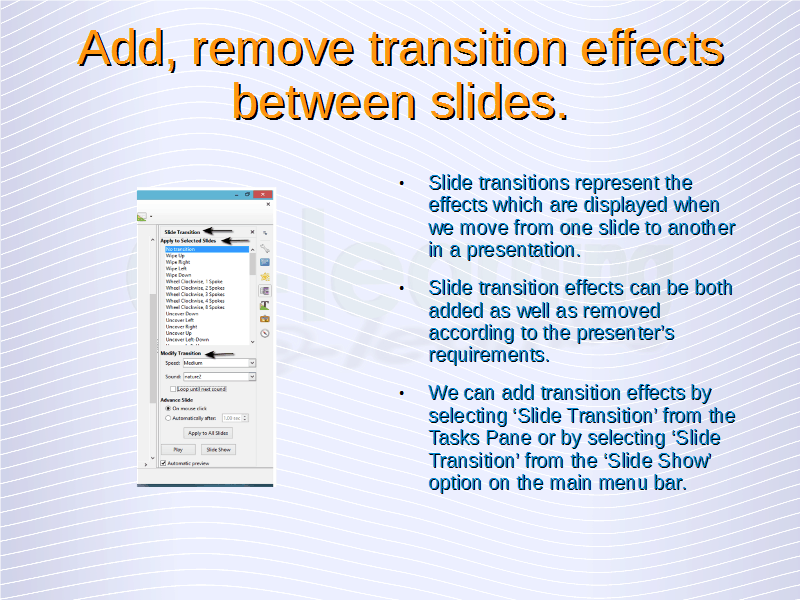
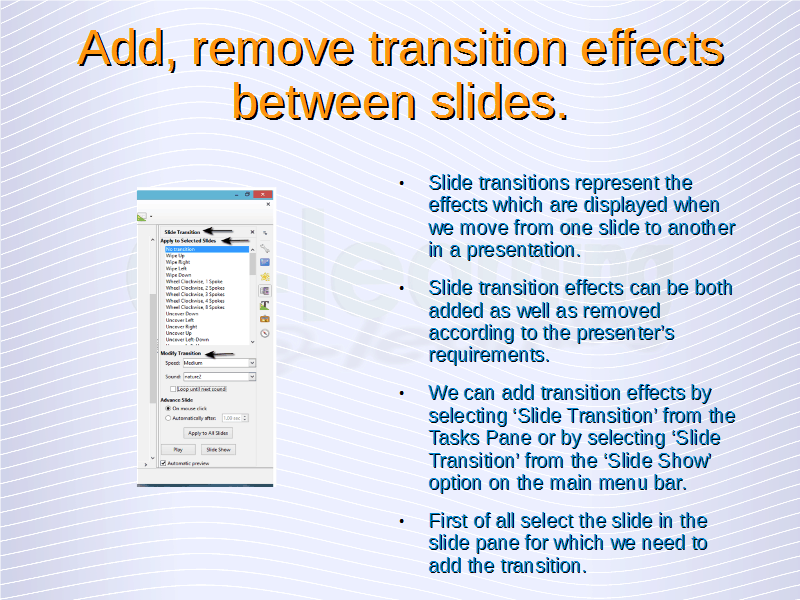
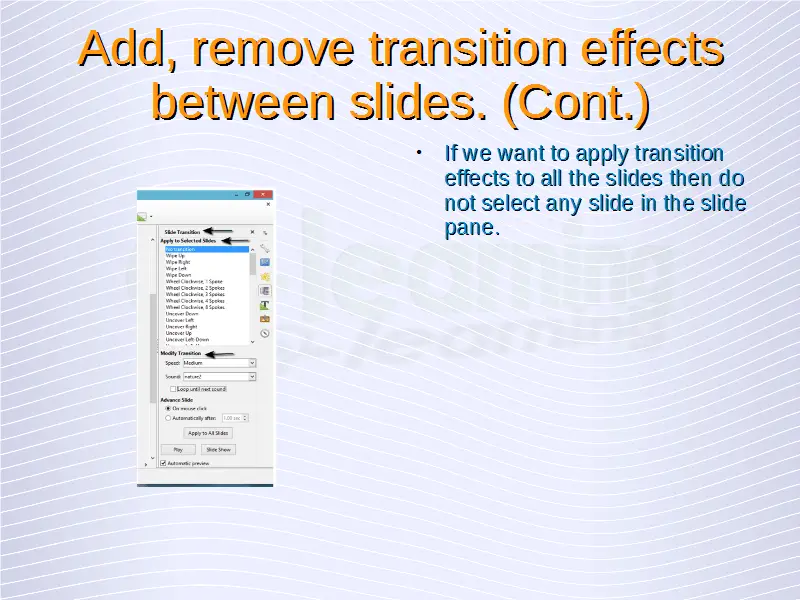
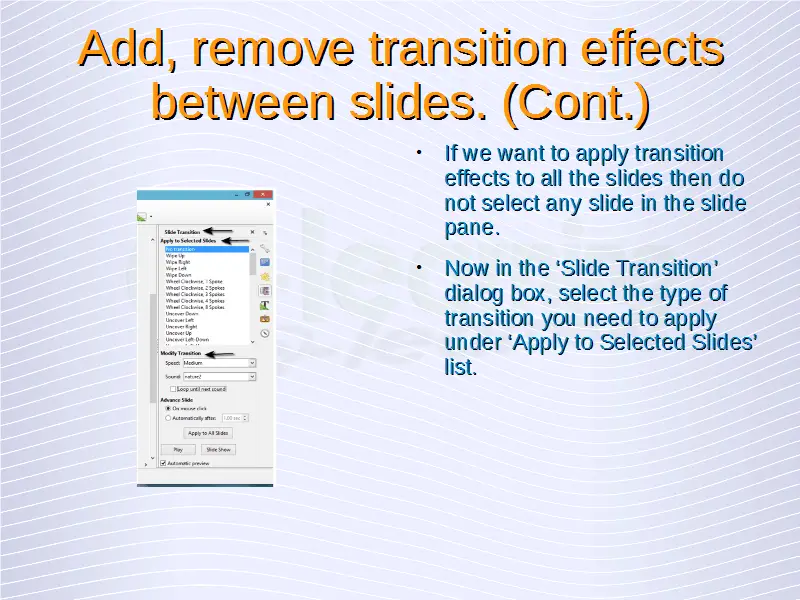
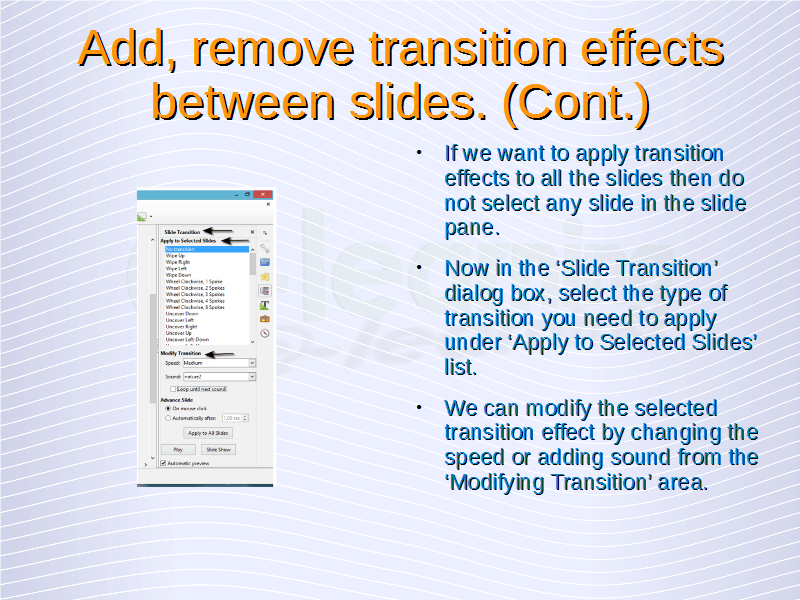
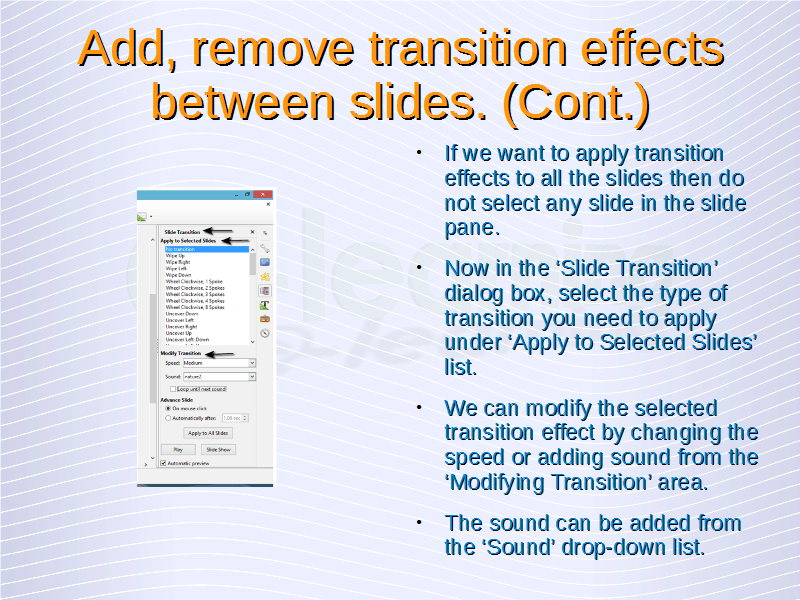
We can add transition effects by selecting ‘Slide Transition’ from the Tasks Pane or by selecting ‘Slide Transition’ from the ‘Slide Show’ option on the main menu bar. First of all select the slide in the slide pane for which we need to add the transition. If we want to apply transition effects to all the slides then do not select any slide in the slide pane.
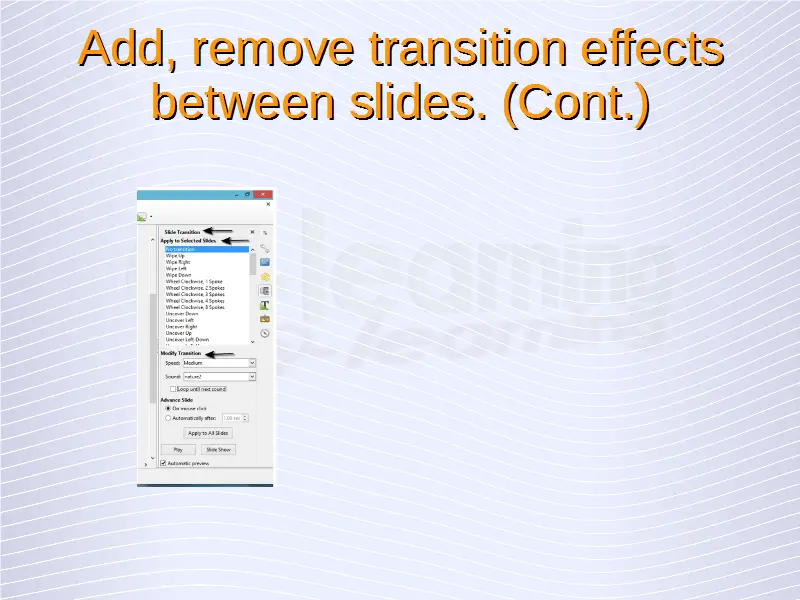
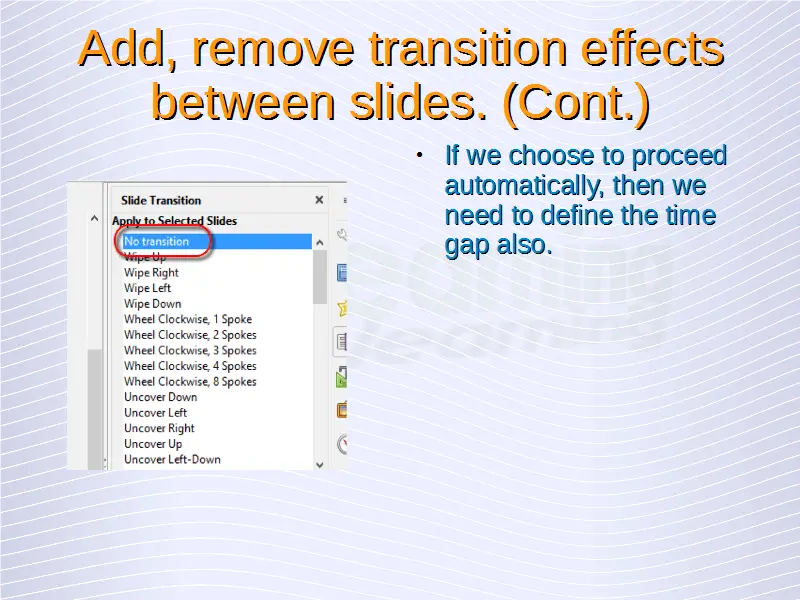
Now in the ‘Slide Transition’ dialog box, select the type of transition you need to apply under ‘Apply to Selected Slides’ list. We can modify the selected transition effect by changing the speed or adding sound from the ‘Modifying Transition’ area. The sound can be added from the ‘Sound’ drop-down list.
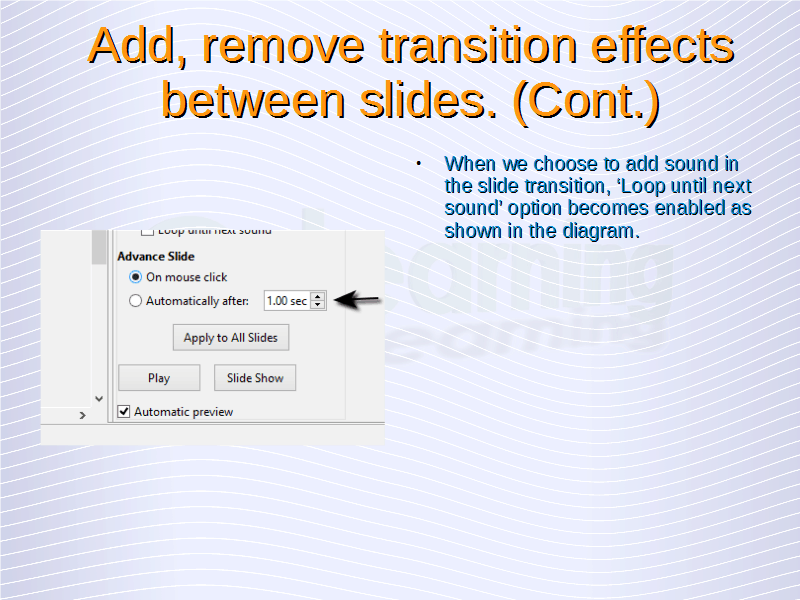
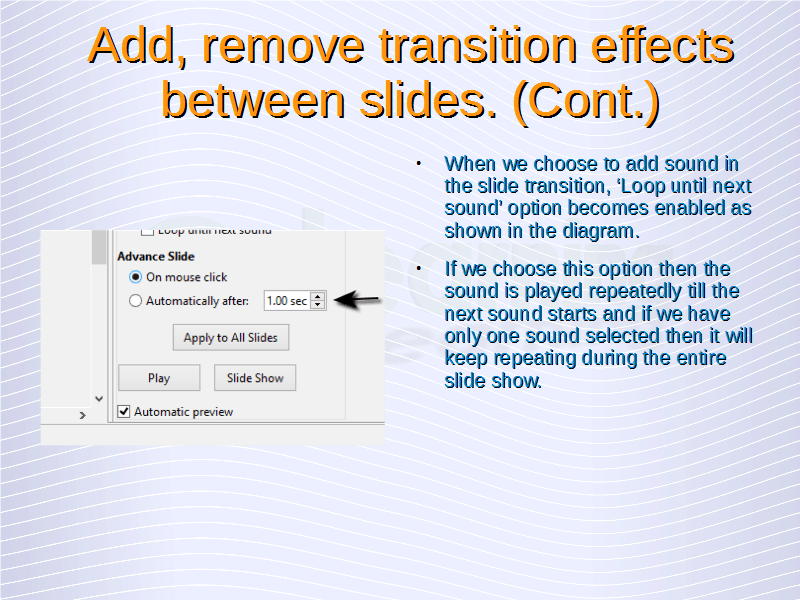
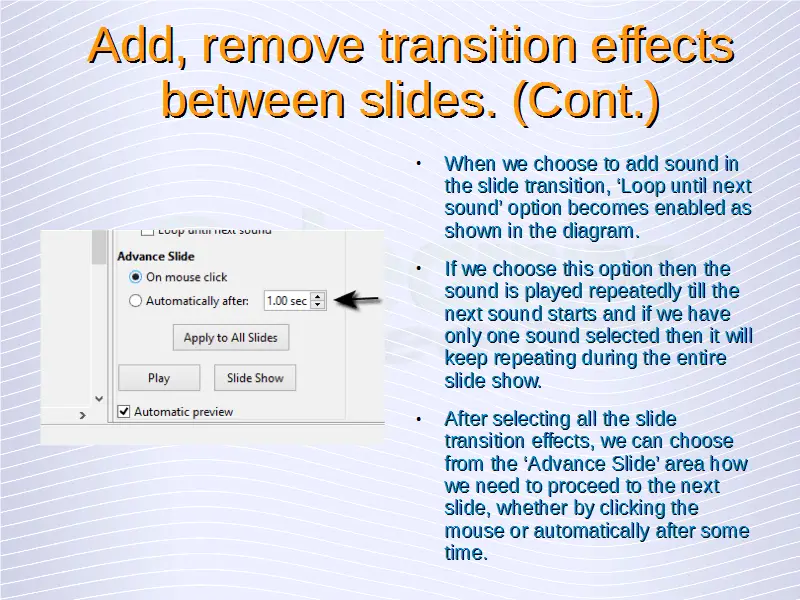
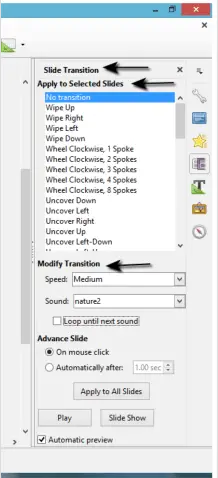 When we choose to add sound in the slide transition, ‘Loop until next sound’ option becomes enabled as shown in the above diagram. If we choose this option then the sound is played repeatedly till the next sound starts and if we have only one sound selected then it will keep repeating during the entire slide show.
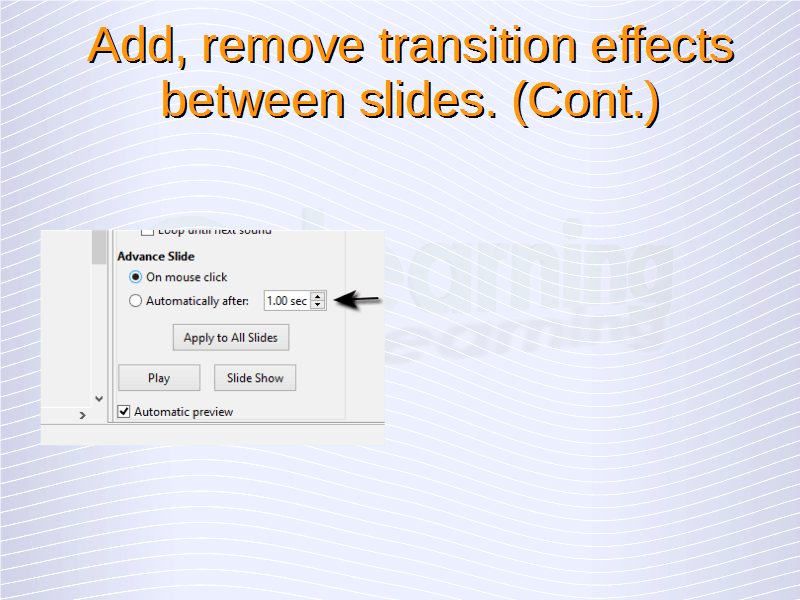
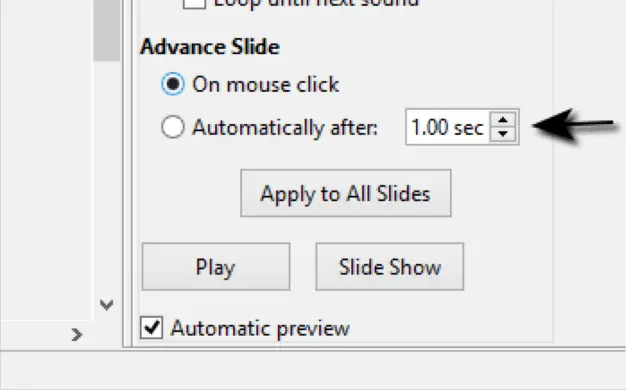
After selecting all the slide transition effects, we can choose from the ‘Advance Slide’ area how we need to proceed to the next slide, whether by clicking the mouse or automatically after some time. If we choose to proceed automatically, then we need to define the time gap also.
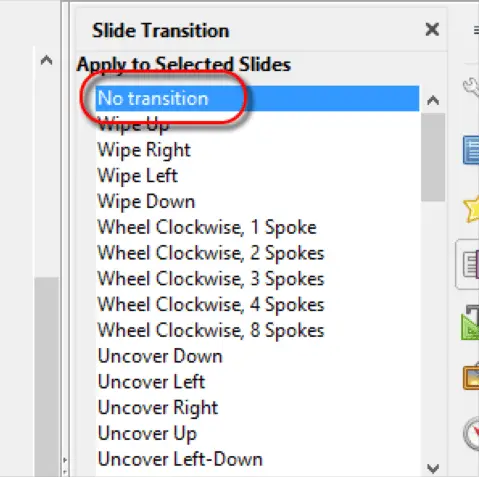
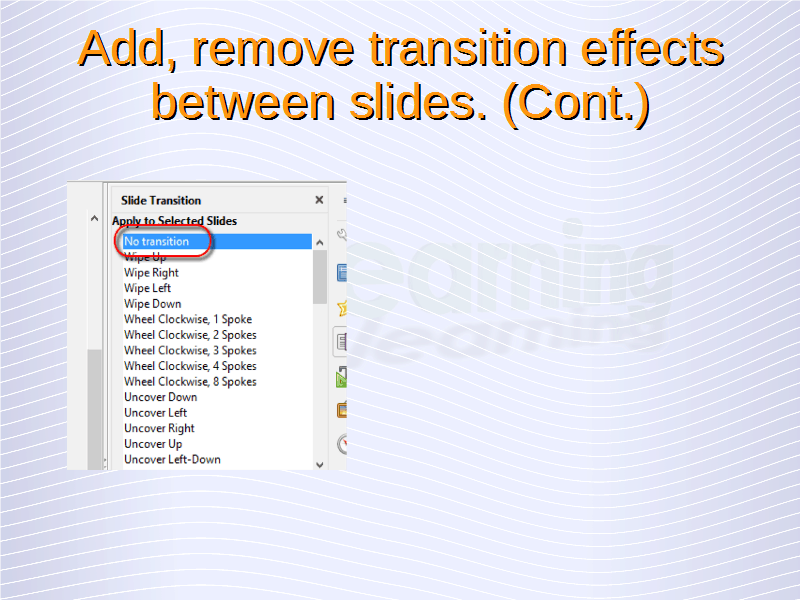
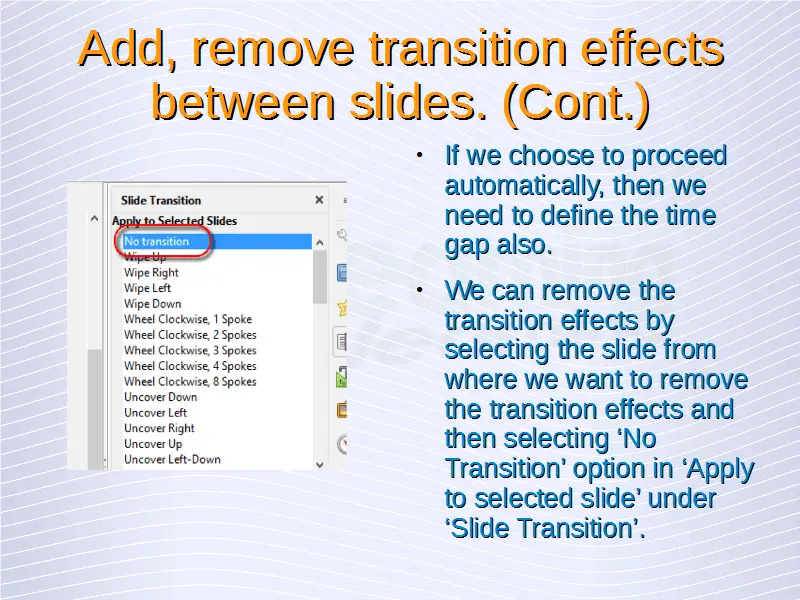
 We can remove the transition effects by selecting the slide from where we want to remove the transition effects and then selecting ‘No Transition’ option in ‘Apply to selected slide’ under ‘Slide Transition’.
