Understanding Presentations – Lines
We can change the line color and line style of an object by using the ‘Line and Filling’ toolbar. First of all, go to the ‘View’ option on the main menu bar and then select the option ‘Toolbars’ from the drop down list that appears. Now select the option ‘Line and Filling’ from the list that appears. The ‘Line and Filling’ toolbar appears.
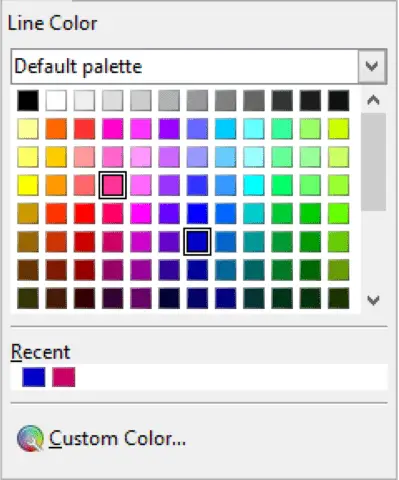
 We can change the line color by firstly selecting the line for which the color needs to be changed and then choosing the option ‘Line Color’ from the ‘Line and Filling’ toolbar. After clicking on this option, a drop down appears, from where we can select the appropriate color for the selected line.
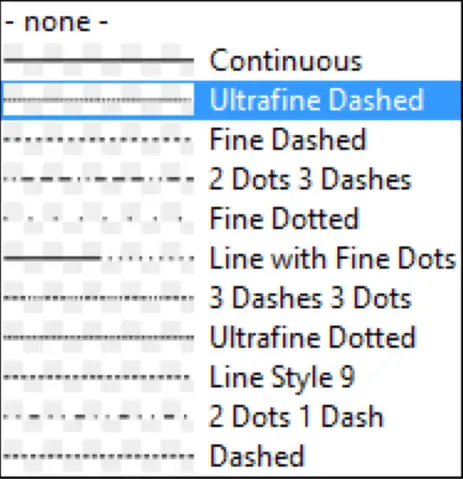
 We can change the line style by firstly selecting the line for which the style needs to be changed and then selecting the ‘Line Style’ option from the ‘Line and Filling’ toolbar. After clicking on this option, a drop down appears, from where we can select the appropriate style for the selected line.
![]()
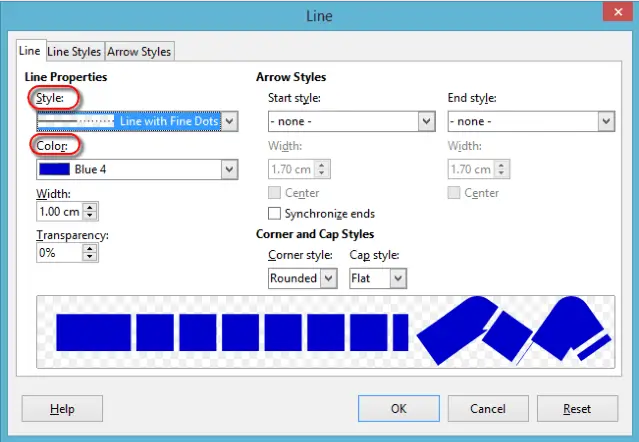
 Another way of changing the line color and style is by selecting the option ‘Format’ from the main menu bar and then choosing ‘Line’ from the drop down that appears. ‘Line’ dialog box will open up as has been shown below:
 In this dialog box, under the ‘Line’ tab, we have the ‘Line Properties’ area. Here, we have the ‘Style’ and ‘Color’ drop-down lists from where we can choose the required color and styling for the selected line. After making the desired changes, click on ‘OK’ and the changes will get applied.
Apply a shadow to a drawn object.
We can apply a shadow to the drawn objects by using the ‘Line and Filling’ toolbar. We can open the ‘Line and Filling’ toolbar by following the same steps which have been discussed in the previous section. In the toolbar, we have an option, ‘Shadow’. Now, select the object to which we need to apply the shadow to and then select the option ‘Shadow’ from the ‘Line and Filling’ toolbar. The shadow will get applied to the selected drawn object.![]()


