Understanding Databases – Using Forms
Use a form to insert new records
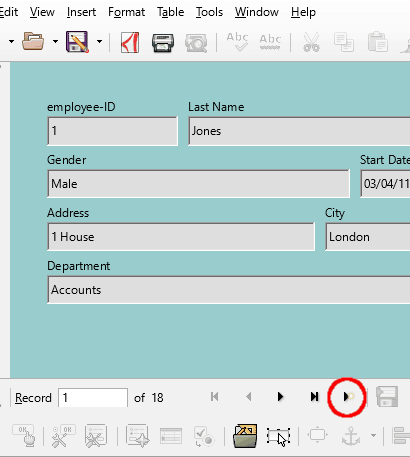
To insert a new record, click the ‘New Record’ icon on the form navigation toolbar.
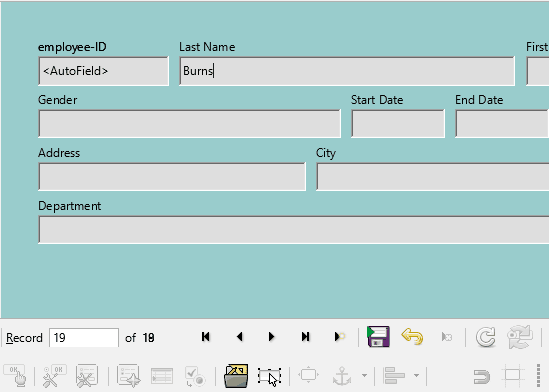
You can enter the data straight into the field boxes on the form.
Note that if you have set the ID to an integer in the table, this will generate the value automatically in increments of 1 for this field.
Once you have finished entering the record, click the disc icon to save the record.
Use a form to delete records
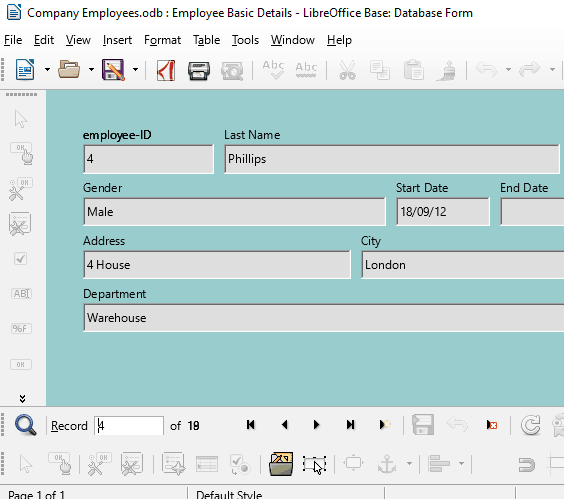
To delete a record, first find the one you want to delete by using the forward and backward arrows in the navigation toolbar.
Alternatively, click on the search icon to find the record by specific field data.
Once you have found the record you want to delete, click the ‘Delete Record’ icon from the toolbar.
Use a form to add, modify, delete data in a record
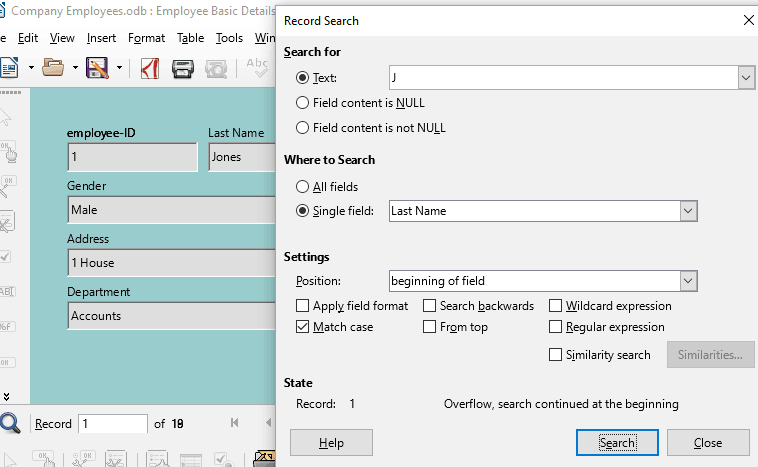
First, find the record you want to edit by clicking on the Search icon in the toolbar.
Use the menu to search, e.g. ‘single field – Last Name’, Search the ‘beginning of field’ for the text ‘J’ will return records with first letter of surname ‘J’.
Keep clicking ‘Search’ button until you find the record you want e.g. Jones or Jenkins.
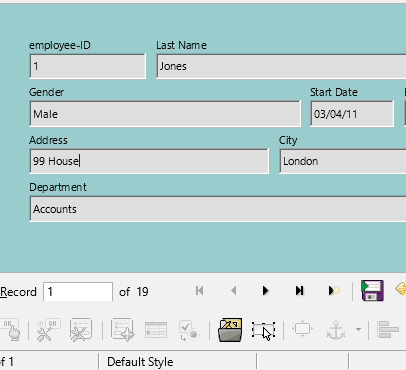
Once you have the record you want, click the data you want to add or change.
Type data into the field box to add or modify existing data.
Highlight the data and press delete to remove the data.
Click the disc icon on the form navigation toolbar to save the changes to the record.
Add, modify text in headers, footers in a form.
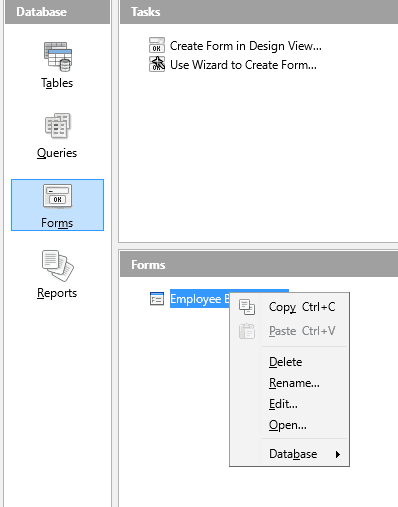
First open the form in Design view. To do this, right click the form in the main window and select ‘Edit’.
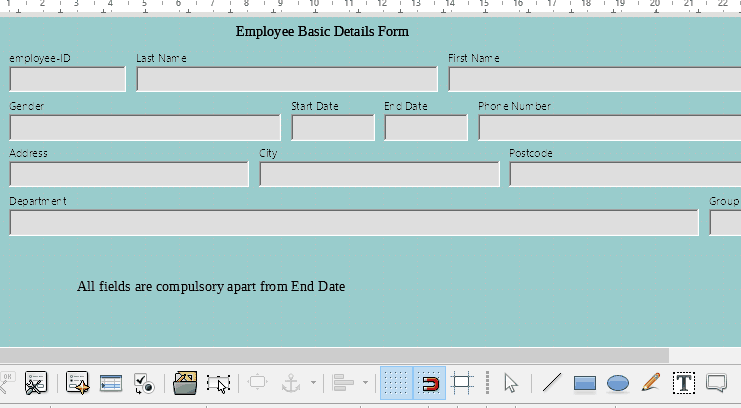
To add text, click on the ‘Text Box’ icon on the Form Design toolbar.
Click and drag on the form where you want the text to go.
Type the text you want to display on the form, e.g. Form title in the header and instructions in the footer.
To modify the text, click inside the text box.
Use the Text Object toolbar to change the font, text size, style, etc.