Understanding Databases – Create a named two-table query
To create a two-table query, first make sure you have created a second table.
The two-table query will use the ‘Company employees’ table created in a previous tutorial.
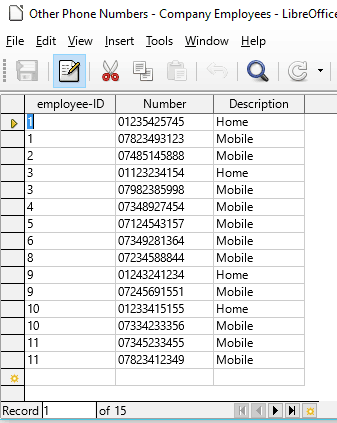
Use the table design view to create a table containing personal phone numbers for home and mobile
Once created and saved, you need to create a relationship between the tables, to do this first exit the table design view to return to the main window
Relationships are used in relational databases to link data in two different tables. They create a reference between a foreign key and a primary key.
We are going to link the ‘employee-ID’ primary key in the ‘Employee Basic Details’ with the ‘employee-ID’ foreign key in the ‘Other phone numbers’ table.
This allows a query to be created that will contain data records pulled from both tables.
Another example of this could be stock listings. The ‘item code’ may be the primary key in a main product description table, and also a related foreign key in a ‘sales’ table.
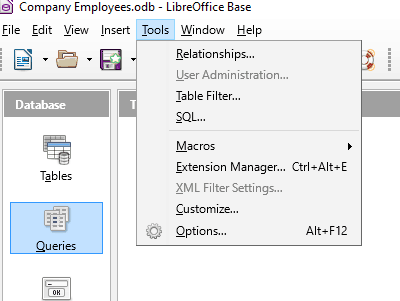
Create a relationship between two tables. Select ‘Relationships’ from the Tools menu in the main window.
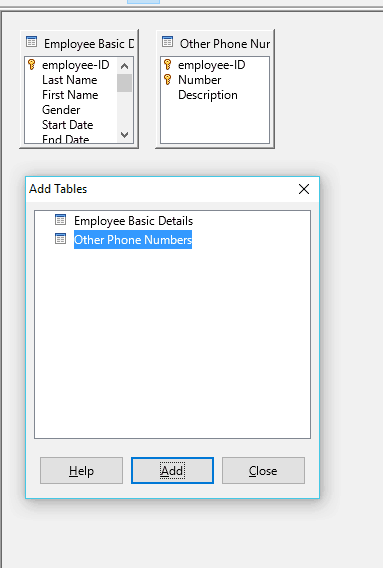
Select the two tables from the list and add them one at a time.
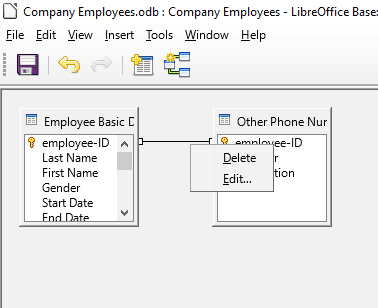
Click and hold on the field you want to relate to a field in the other table, then drag over to the relevant field, making a relationship between them
Right click on the line that links the fields and click ‘Edit’ to edit the relationship
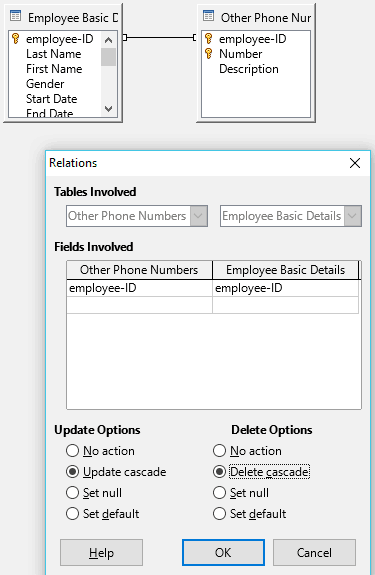
In the Relations window, check ‘Update cascade’ from Update Options and check ‘Delete cascade’ from Delete Options.
This means that when the related fields are edited or deleted in either table the other table will be updated also, click OK. Click the disc icon to save the relationship.
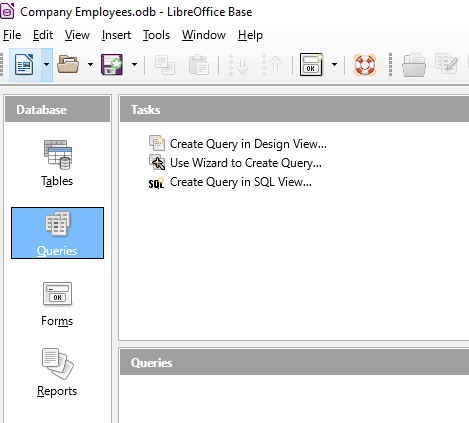
Select ‘Queries’ and select ‘Create a query in Design View’ from the Tasks area.
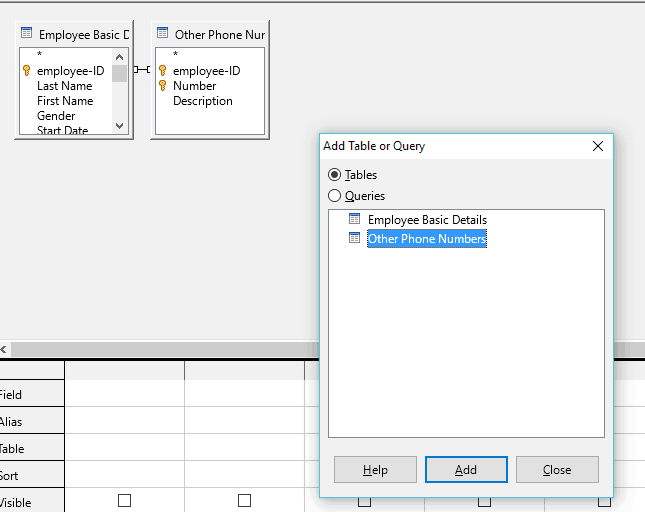
Then add both tables from the ‘Add Table or Query’ window.
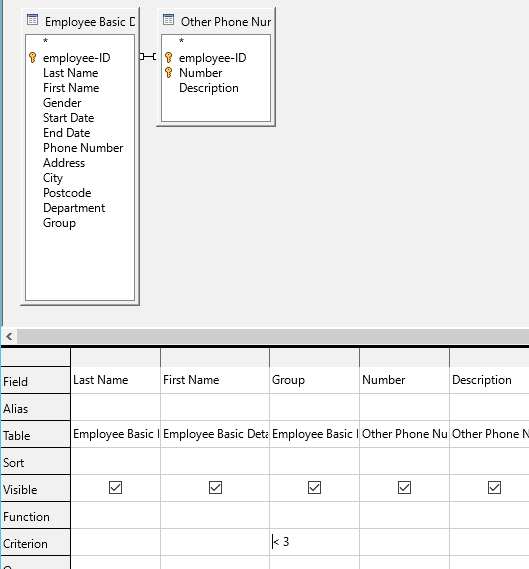
Select fields from both tables.
Set criteria for the data you want to extract e.g. in the Group Criterion type “<=3” to show only data from Groups 1,2 or 3
Press F5 to Run Query and F4 to close the Preview window.
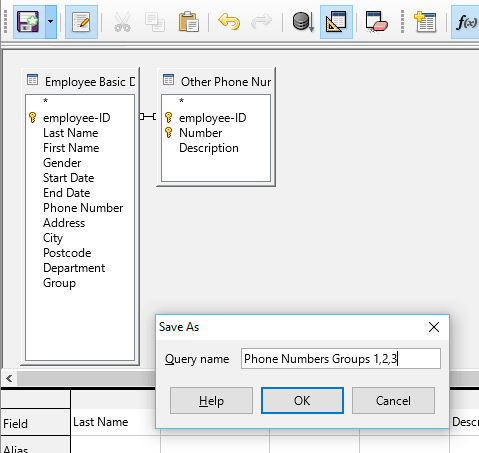
Click the disc icon to Save As. In the dialogue box, type the name you want to give the query, then click ‘OK’ to save it.