Storing Data On The Local Drive
Storing Data on the C: Drive
Data (files, folders pictures music etc) can be stored in various ways either on the PC itself or on various forms of external media such as CD’s, floppy disks or memory cards.
In the following section we will demonstrate how to store data using various methods.
Use the buttons below to navigate through the lesson
- Firstly double click, “My Computer”
- Select “C Drive” by double clicking
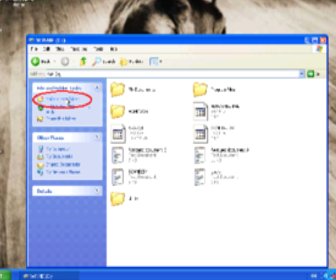
- Once in the “C Drive” a new folder will be created by selecting “Make a new folder” on the side bar.
- Click on “Rename the folder” on the side bar

- The folder is now renamed “Data”
- Open the “Data” folder by double clicking
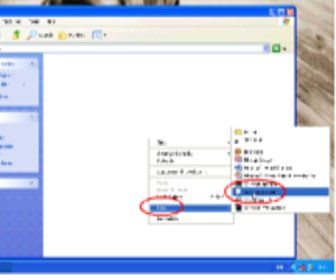
- Within the data folder right-click and a side menu will appear, then select “New” and next choose “Text Document”

- As before, select “Rename the file” and type in “test”
- Next double click on the file and type in some information
- On completion, close the file and you will be prompted to “save the changes” – then select “Yes”
- The file “test” is now created and stored in the “Data” folder
- Once back in the “C Drive” we shall create another folder in a different way- Right-Click in an area of space on the right window pane.
- Click “New”, next click “Folder”
- Right-click on the “New folder” and click “Rename” on the pop-up menu
- Next rename the new folder to “Accounts” and double click the “Data” folder
- Once in the “Data” folder, right click on the “Test” file and click “Cut”
- Click “Back”
- Go into the “Accounts” folder and right-click in the right window pane and select “Paste” from the pop-up menu
- The “test” folder is now moved to and stored in the “Accounts” folder.
- There are various ways of moving files between folder to folder, next we shall open up the “Data” folder again this time leaving the “Accounts” folder open
- Then left click on the “Test” file keeping your finger pressed on the left button, we shall now move the file from the “Accounts” folder to the “Data” folder releasing the button once above the “Data” folder – This is called “Drag & Drop”
- The process is now complete.