Word Processing – Document Creation
Enter Text
Switch between page-view modes.
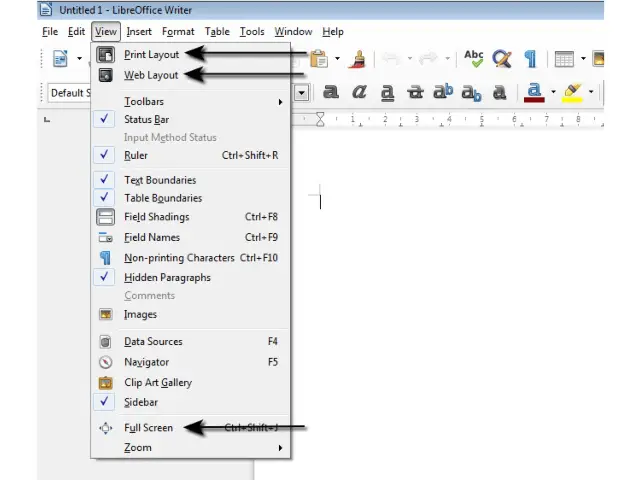
Writer has three ways to view a document: Print Layout, Web Layout, and Full Screen. To change the view, go to ‘View’ from the main menu bar and click on the required view from the resulting drop-down menu. Print Layout is the default view in Writer.
Enter text into a document.
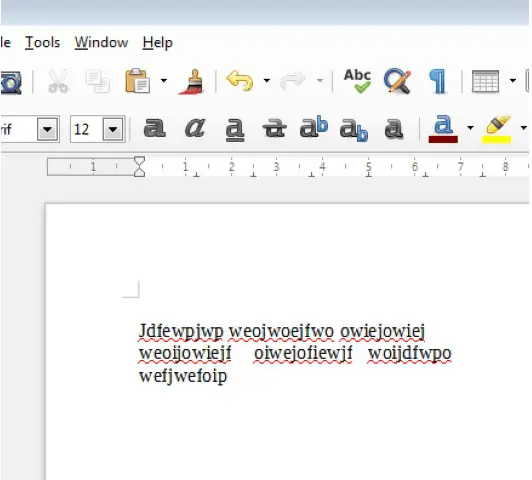
To enter text in a document, simply click once in the text area. This will give a blinking text pointer in the text area. Now use the keys on your keyboard to enter the text values. This is how we can enter text into a writer document.
Insert symbols or special characters like: ©, ®, ™.
To insert symbols or special characters in a Writer document, click on ‘Insert’ from the main menu bar. From the resulting drop-down, click on ‘Special Character’. This will open the ‘Special Characters’ dialog box.
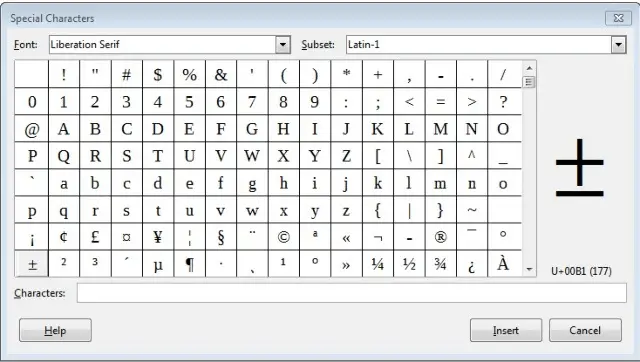
From this, you can select the required symbols or characters from the collection given and then click on ‘Insert’. This will insert the selected symbol or special character into the document.
Display, hide non-printing formatting marks like: spaces, paragraph marks, manual line break marks, tab characters.
To display the non-printing characters like spaces, paragraph marks, and tab characters, click on ‘View’ from the main menu bar and from the resulting drop-down menu, click on ‘Non-printing Characters’. This will display the non-printing characters in the page. How these characters look in a writer page has been shown in the below given illustration.
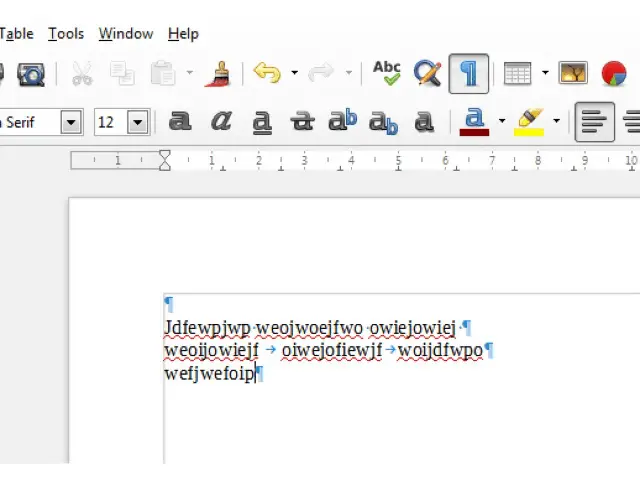
The ‘inverted P’ shows a paragraph mark, a ‘.’ shows a space and a forward arrow shows a tab character.
To hide the non-printing characters, again click on the same ‘Non-printing Characters’ from the ‘View’ menu.
Select character, word, line, sentence, paragraph, entire body text.
To select a character, simply place the text pointer on either side of the character using the mouse. Then, press the ‘Shift’ key from the keyboard and without releasing this key, move the pointer towards the character using the ‘Arrow’ keys from the keyboard and reach the other side of the character. Release the keys after moving over the character. This will select the character.
Another way is to place the text pointer on either side of the character using the mouse and then holding down the mouse button and hovering over the character without releasing the button. Release the button after reaching the other side of the character. This way the character will get selected. The character will be surrounded by a blue background upon selection.
These same two methods can be used to select a word, a line, a sentence, and even an entire paragraph. Just start from one end of the text body, and reach the other end by using any one of these methods. This will select the text body.
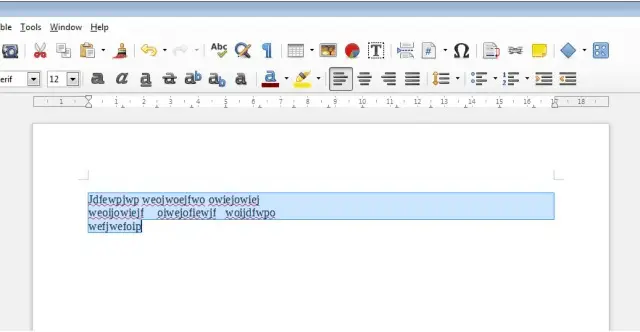
To select the entire body text, simply press the ‘Ctrl’ and ‘A’ keys from the keyboard together. This will select the entire body text.


