Creating our first HTML document
![]() In this lesson we will walk through creating an empty HTML document and learn about HTML document structure and some simple HTML tags.
In this lesson we will walk through creating an empty HTML document and learn about HTML document structure and some simple HTML tags.
Use the buttons below to navigate through the lesson
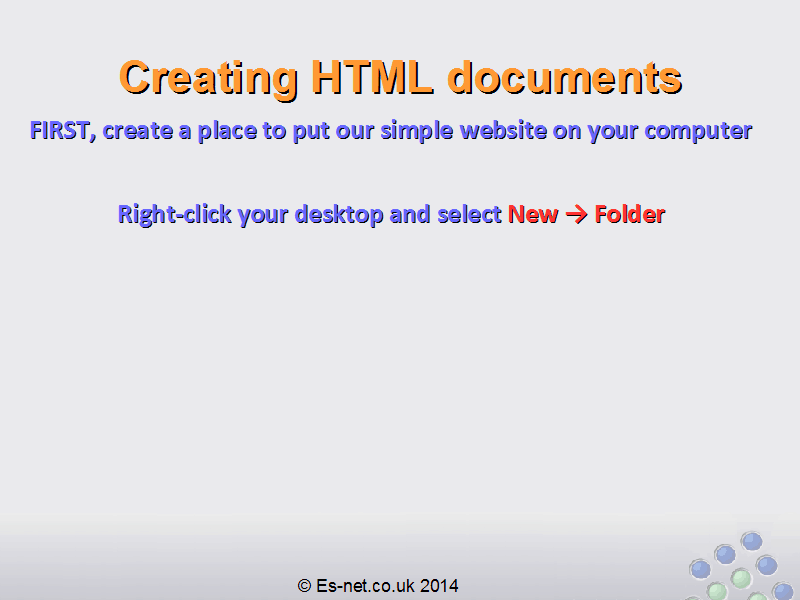
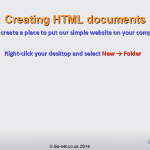
First, create a place to put our simple website on your computer. Right-click your desktop and select New -> Folder, like this:
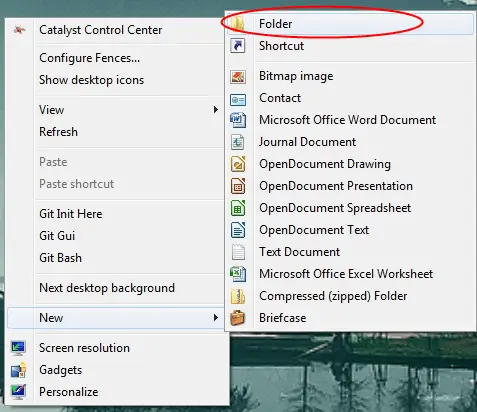
You may have different programs installed or be on a different version of Windows so your options may be different, but you will have New Folder. If you’re on a different operating system such as OSX or Linux you can still follow this tutorial: just choose a place of your own to store the files we’re going to create.
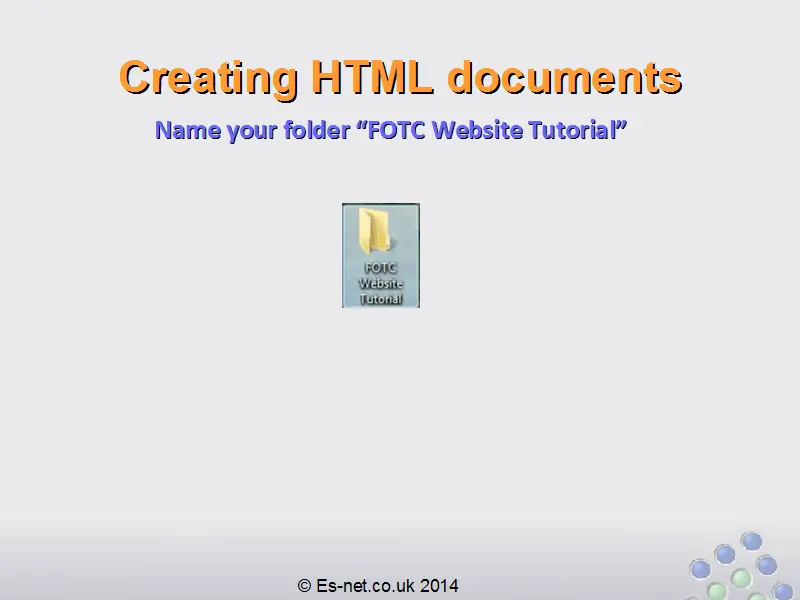
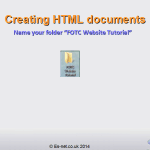
 Name your folder with a name you’ll remember. We’re going to use this folder to keep all our files in for this whole project. I’ve named mine “FOTC Website Tutorial”:
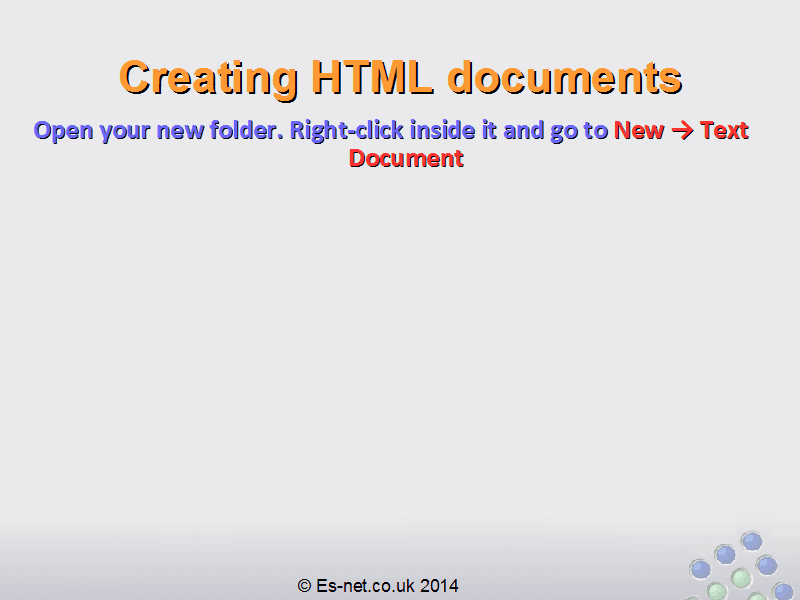
Open your new folder, and right-click inside it. Again go to New, but this time click “Text Document”, like this:
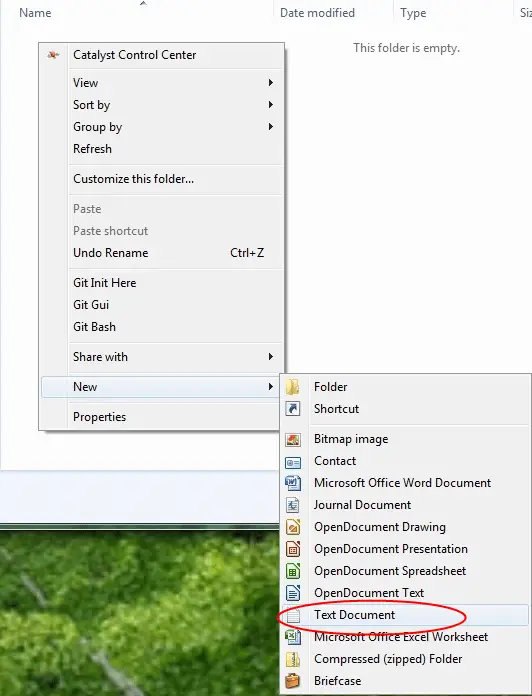
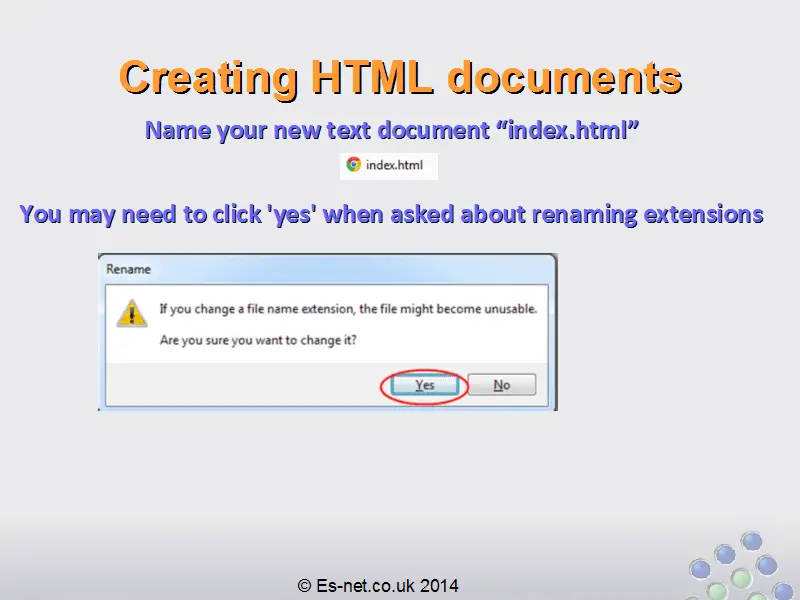
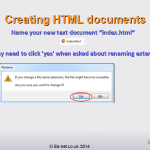
Rename the text document to “index.html”. You need to replace the “.txt” extension with “.html” – when you do this you’ll be prompted if it’s ok to change the extension. We want to make a HTML file so click Yes.
![]()
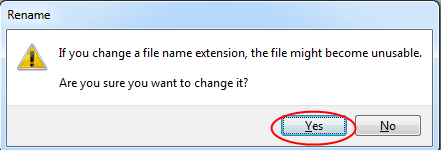
Note: If you cannot change the file extension, you need to enable the option to show file extensions in Windows – by default file extensions are invisible. When working in web development it is useful to have file extensions visible so it is recommended to change this setting. Instructions for changing it (and a handy utility you can download that will change it for you automatically!) are available at this link: https://support.microsoft.com/kb/865219
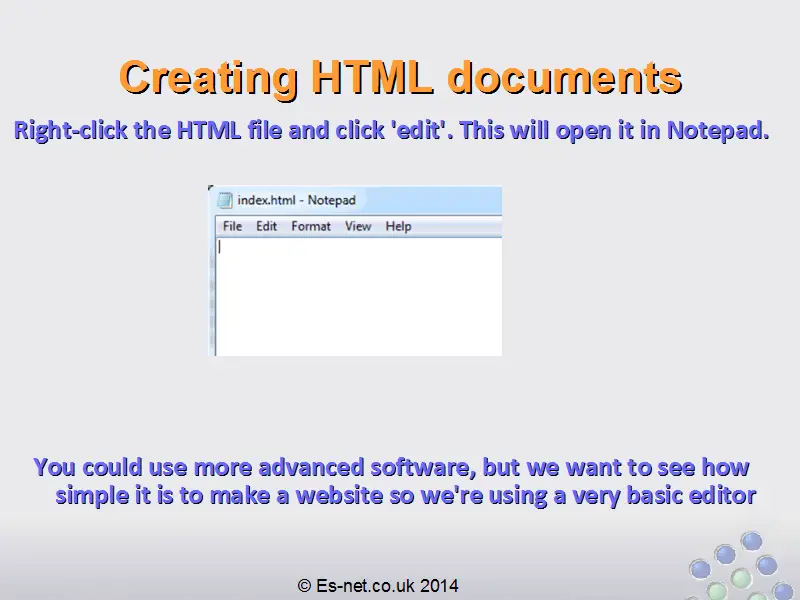
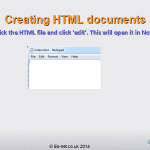
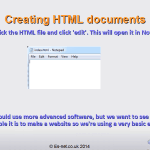
Right click the HTML file and click ‘Edit’. This will open it in Notepad. If you can’t find Edit, you can open Notepad through the start menu, then use File – Open to open the index.html file you’ve just created.
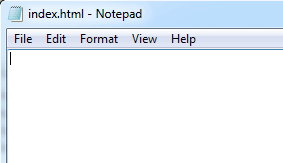
When you’ve done this you should have an empty document in Notepad like this:
You can use much more advanced software than Notepad to do this, but an important part of this lesson is that you can use very simple tools to make websites, so we’re going to use Notepad. If you have a preferred text editor, such as TextMate, Notepad++ or another, then feel free to use those instead.
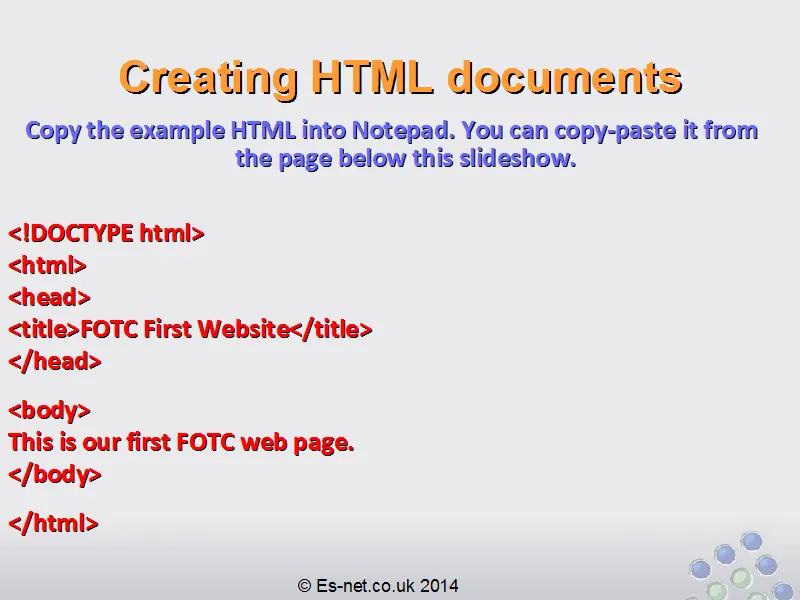
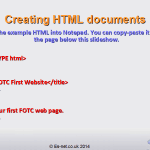
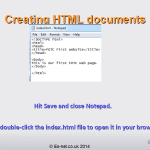
Copy the following text into your index.html file and save it:
<!DOCTYPE html>
<html>
<head>
<title>FOTC First Website</title>
</head>
<body>
This is our first FOTC web page.
</body>
</html>
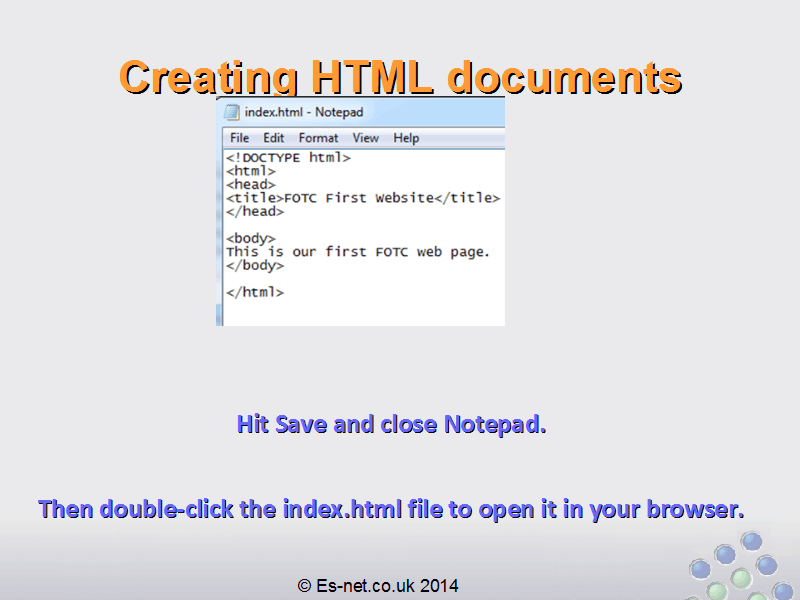
Once you’ve hit save you can close Notepad.
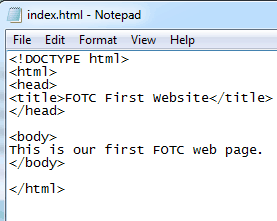
Now if you double-click your HTML file it should open in your local browser. If this doesn’t work you can open a browser (such as Chrome, Firefox, Internet Explorer) and drag your file into it to open it.
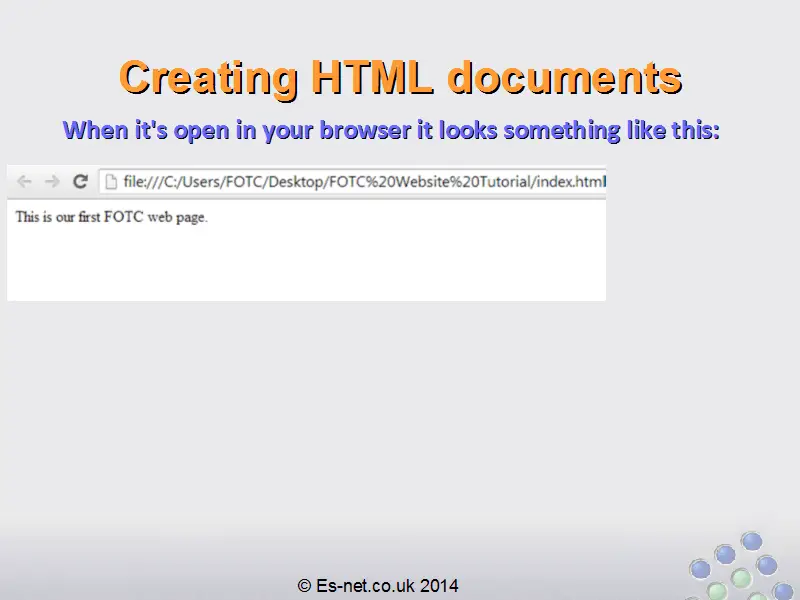
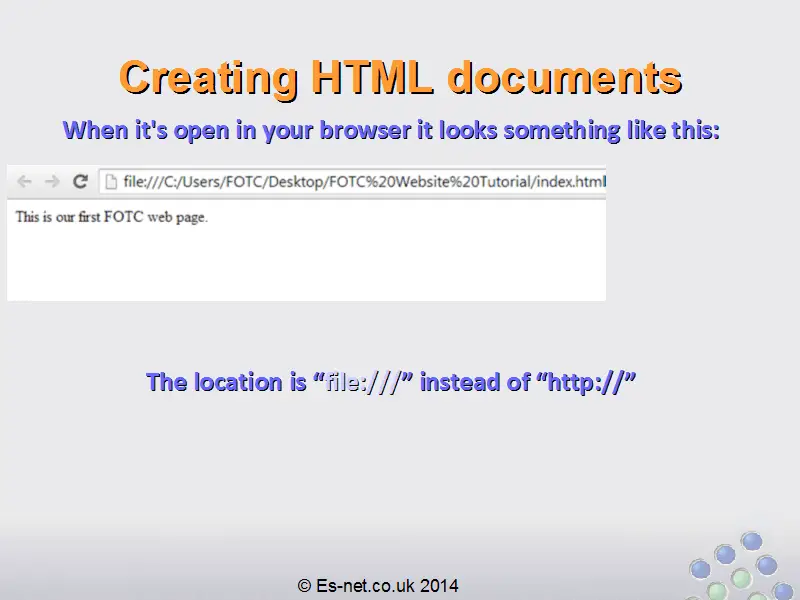
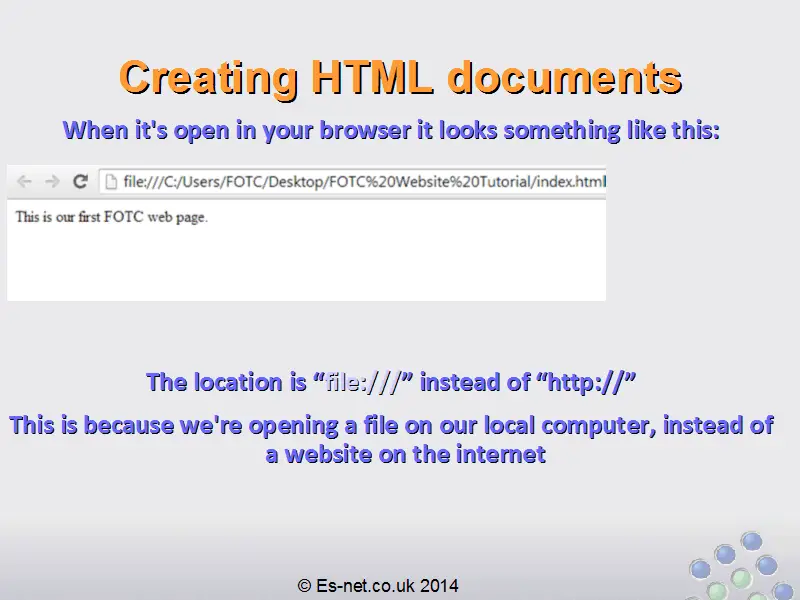
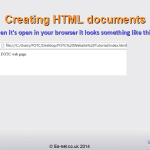
Here’s how the file appears when I open it in my web browser.

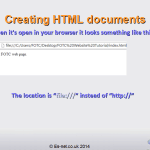
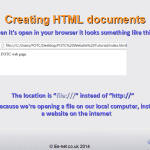
You can see that the location of the website starts with file:/// instead of the http:// we’re used to. (If you can’t remember what HTTP:// means then go back and review the lesson on “What is HTTP” earlier in this course). Now that you understand what HTTP is you can understand that we don’t need to use HTTP to access our index.html because the file exists on our own computer: HTTP is used for talking to other computers.
So we can guess that “file:///” means that the browser is accessing a file on our local computer.
The rest of the web address is then the location of the file on our own computer.
Underneath that we can see our web page. It’s not very exciting at the moment, as it just has a single sentence.
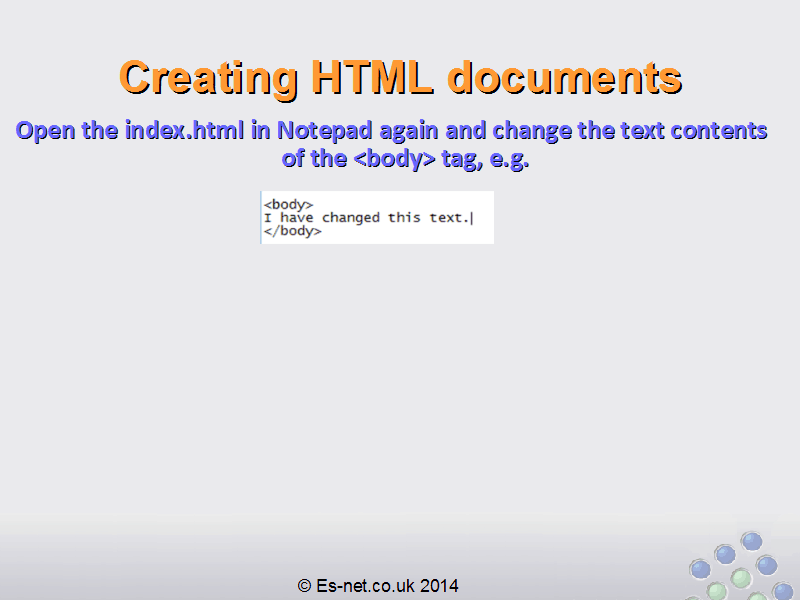
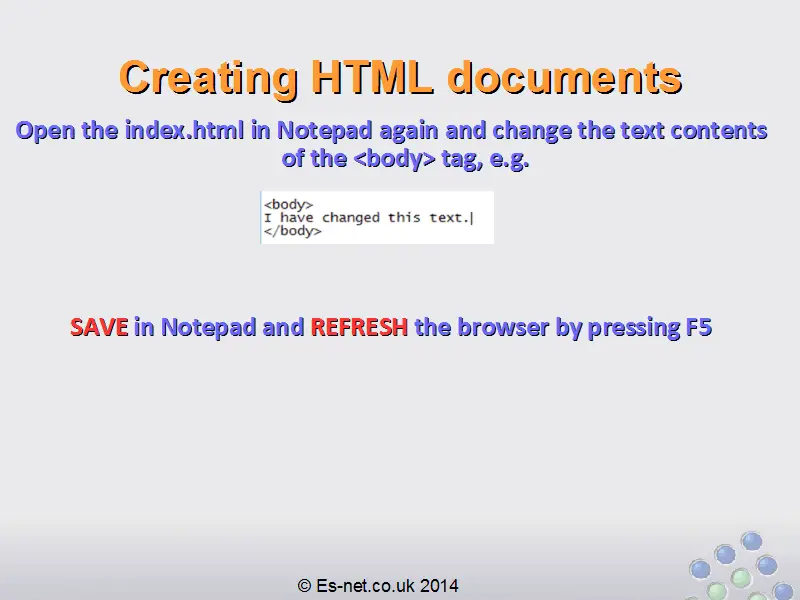
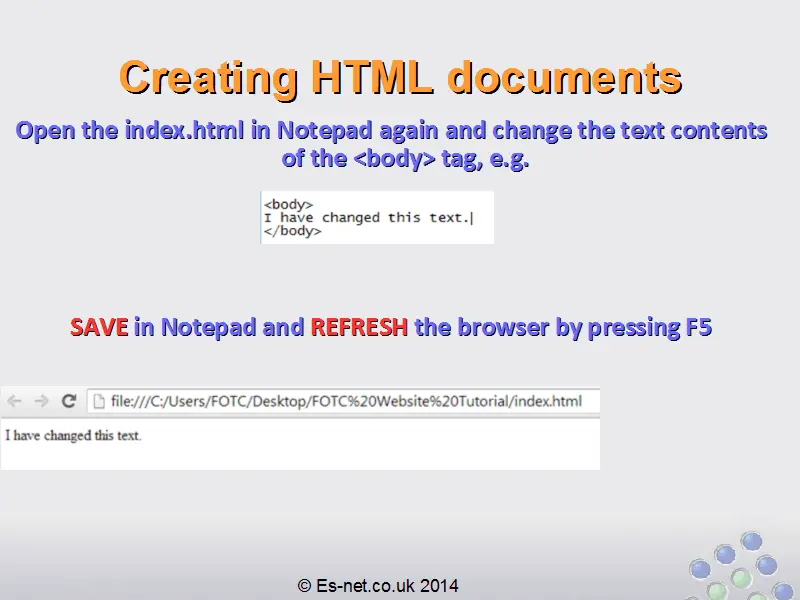
Go back to editing your notepad document and change the HTML contents of the <body> tag, like this (you can change it to whatever you like):

Make sure to save your index.html in Notepad. Then go back to your browser window and press F5 to refresh.
As you can see the text is changed on our simple webpage:

You can put whatever text you like in and it will appear on the web page.
This cycle of editing-in-Notepad, saving-in-Notepad, and then pressing F5 in your browser to refresh is the simplest way of making websites. Of course when it comes to making more complex websites we will need to learn more complex tools, but this is an excellent way to understand the fundamentals of HTML.
In the next lesson we will look in more detail at the HTML we have so far in our simple webpage.
