Advanced Word Processing – Forms
Create, modify a form using available form field options: text field, check box, drop-down menu.
We all know what forms are. They help in presenting the data in a better and more efficient way, they are used in a variety of domains, and the best part is we can create highly interactive and useful forms using Writer.


To create a form using available form field options, click on ‘View’ from the main menu bar. From the resulting drop-down menu, click on ‘Toolbars’, and from the resulting sub-menu, click on ‘Form Controls’. This will open the ‘Form Controls’ dialog box. In this dialog, first of all click on the ‘Design Mode On/Off’ button. This will enable all the other buttons.
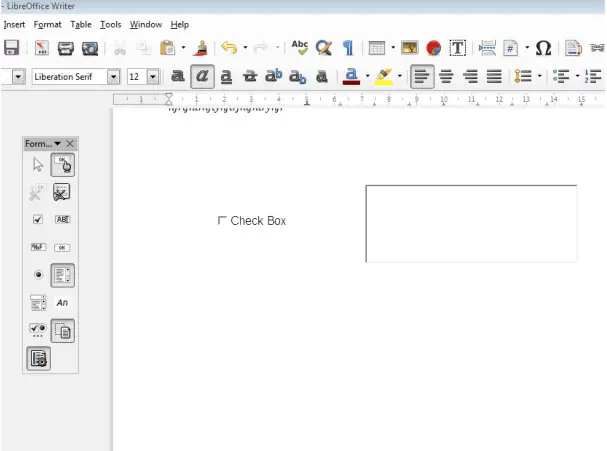
After this, click on any of the controls, say ‘Push Button’. The mouse pointer will change to a ‘+’ sign. Drag anywhere on the sheet to create a ‘Push Button’. The push button will get created in the document. In the same way we can create other fields like a text box, a check box or a drop down menu.
We can insert as many fields as required and design our form accordingly. This is how we can create a form in Writer.
Add help text to a form field: visible on status bar, activated by F1 Help key.
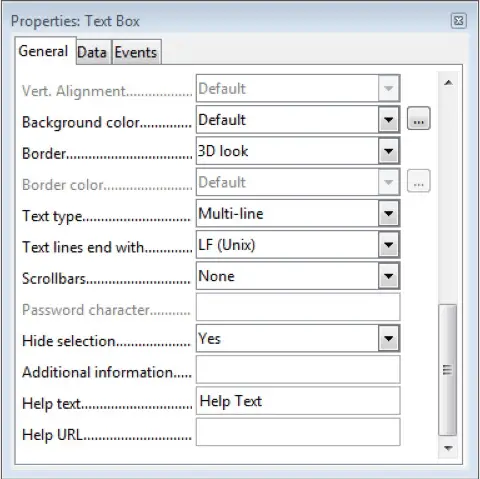
To add help text to a form field, right click on any of the newly created buttons and from the resulting menu, click on ‘Control’. This will open the ‘Properties’ dialog box.
In this dialog, under the ‘General’ tab, we have different options. In the ‘Help text………’ input box, enter the help text which you want to be visible for that particular button. After entering the help text, simply close the ‘Properties’ dialog box.
Now the help text which you just entered will be visible when we hover over that particular form field.
Protect, unprotect a form.
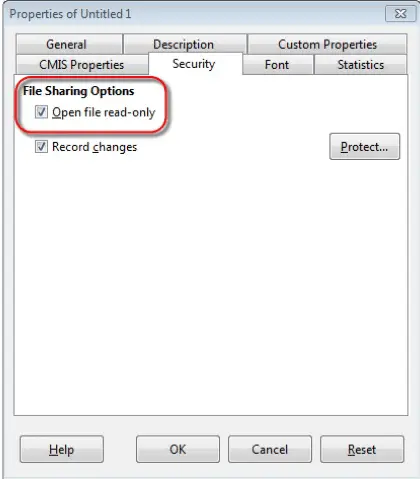
A form is nothing but a simple Writer document. So to protect a form, we need to protect our document. The simplest method to do this is to make the document read-only. To do this, click on ‘File’ from the main menu bar, and from the resulting menu, click on ‘Properties’. This will open the ‘Properties’ dialog box.
In this dialog box, under the ‘Security’ tab, we have a checkbox ‘Open file read-only’. Check this checkbox and then save the document. Next time when the document will be opened then it will be opened as a read only document and no one will be allowed to make changes to your form.
This is how we can protect a form.
To unprotect a form, simply uncheck the ‘Open file read-only’ checkbox.