Advanced Databases – Insert, delete a data field in group, page, report headers and footers.
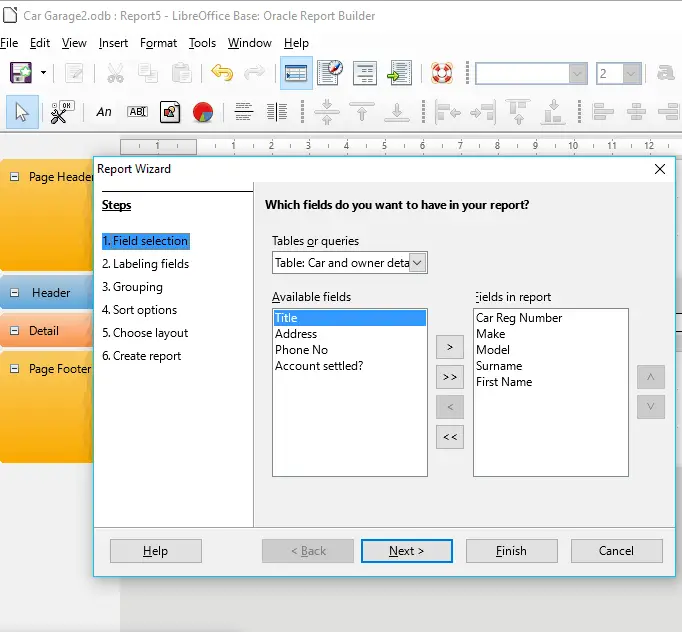
Create a report in wizard mode, select the table Car and owner details and add the first 5 fields only.
Click Next twice.
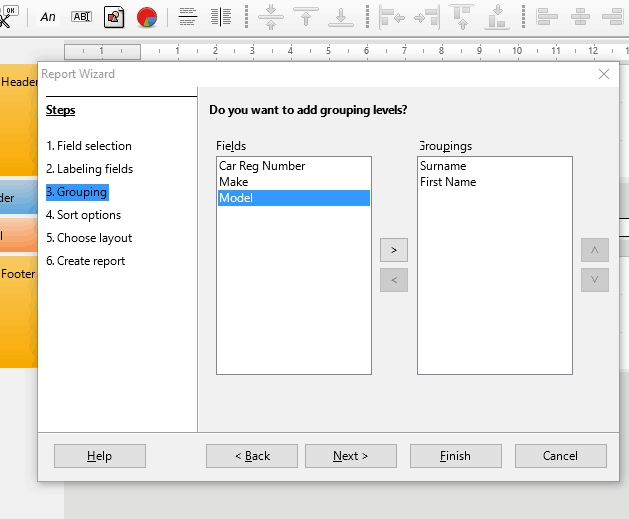
Add grouping levels for Surname and First Name.
Click Next twice.
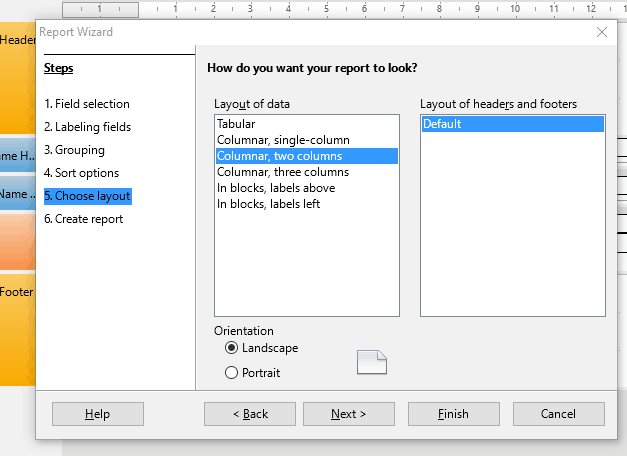
Choose ‘Columnar, two columns’ layout.
Click Next.
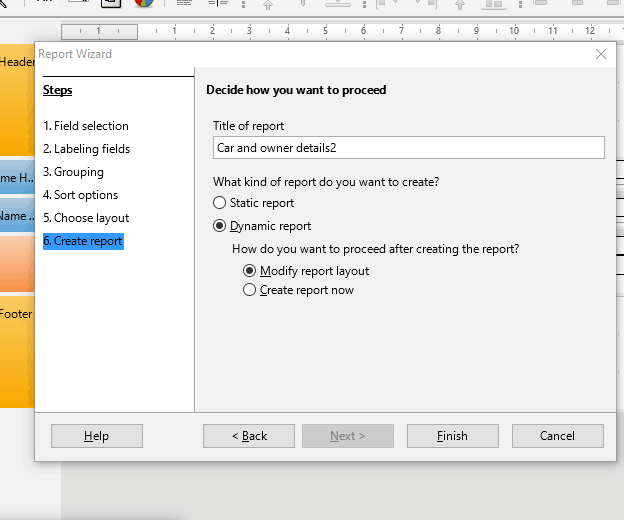
Name the report.
Select Dynamic report
Select ‘Modify report layout’
Click Finish.
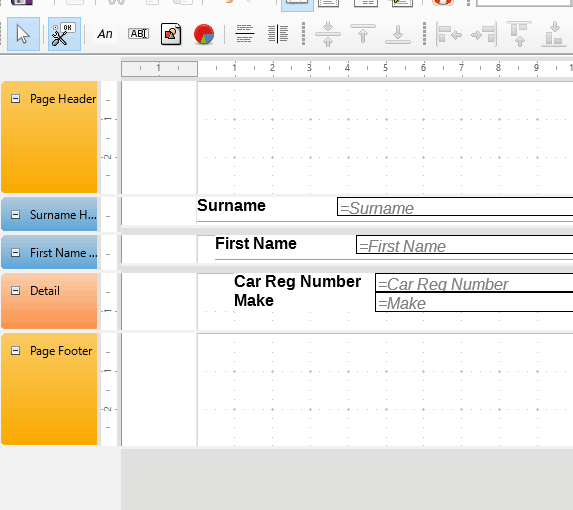
Notice the colour coding on the left-hand side of the window.
Orange represents headers and footers.
Blue represents groups.
Pink represents the report details or page.
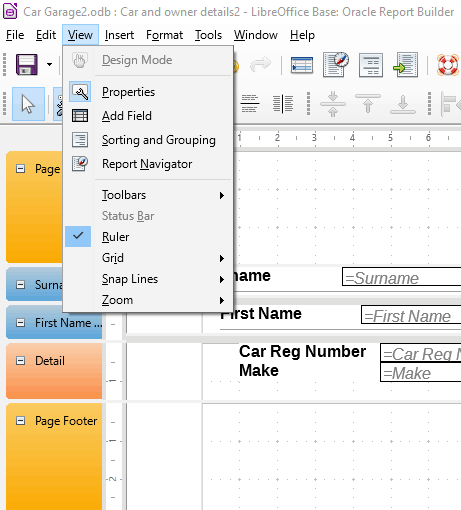
To add a field to a section of the report, we first need to click View -> Add Field
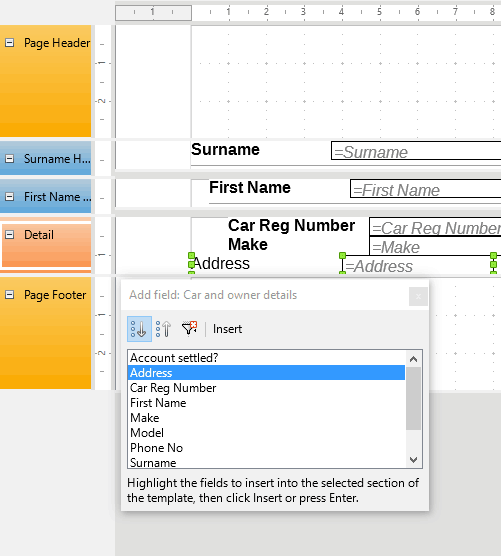
The Add field window pops up.
Click a section that you want to add a field to, in this example click on the ‘Detail’ pink section to highlight it.
Select a field to add, in this case ‘Address’ and double click it.
Notice that the field now appears in the Details section.
To delete the field, simply click on the label and text box and press the delete key.
You can insert any field from the table into any of the sections.
Be aware that if you add a data field to the header or footer it will appear at the top and bottom of each page.