Advanced Database – bound controls: option group
Create, modify, delete bound controls: option group
Open the car and owner detail form in design mode.
We are going to create options for the title field to save time typing them out. The options are going to be Mr, Mrs and other.
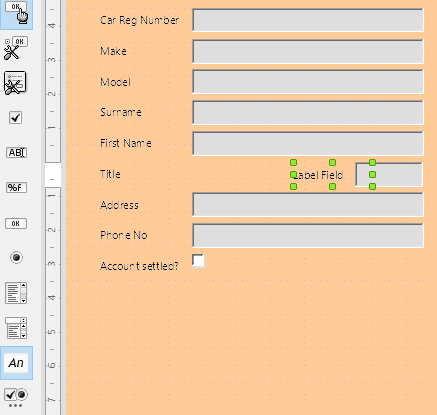
Start by making the text box next to ‘Title’ smaller by dragging the left green dot after selecting it.
Then click the label field icon from the form control toolbar and create a label field.
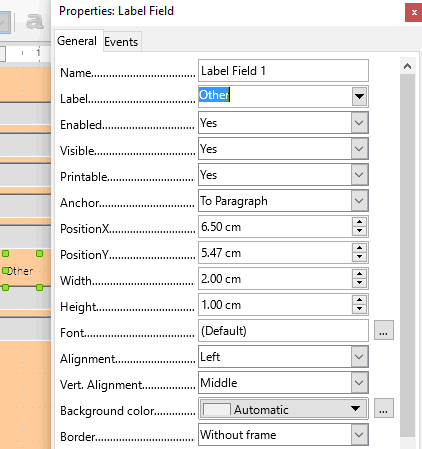
Select the label field box, right click and select control.
In the ‘Label’ section type ‘Other’.
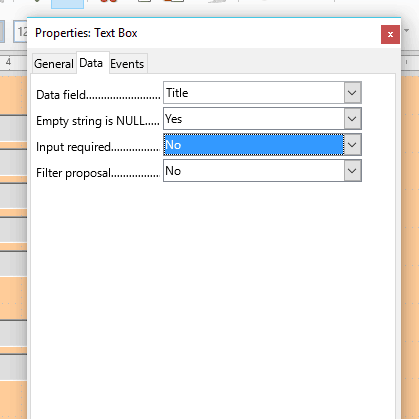
Right click the text box we resized earlier, and select control.
Click the data tab and make sure Input Required is set to No.
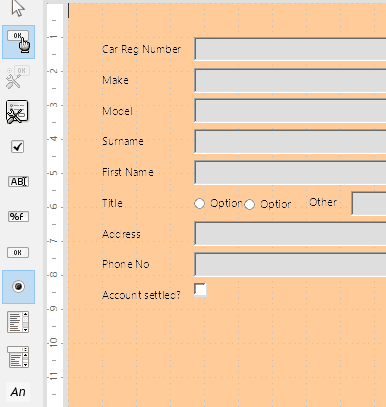
Click the ‘Option Button’ icon in the form control toolbar and create two option buttons next to the title field box by clicking and dragging.
Right click one of the option buttons and select ‘control’.
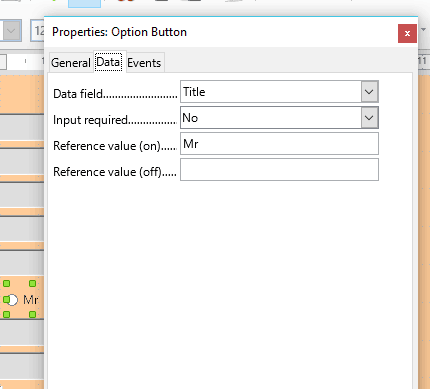
Click the Data tab and select ‘Title’ from the Data field section. This links the response to the Title field.
Select No for input required.
In the Reference value (on) section type ‘Mr’
Click the General tab.
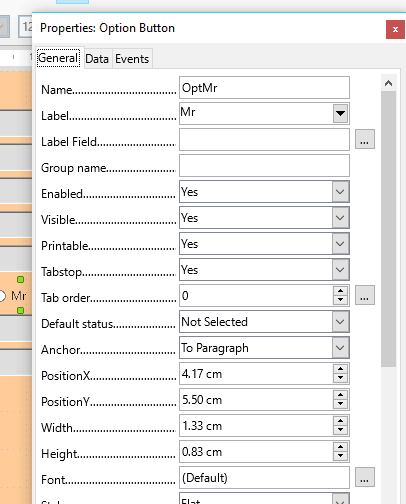
In the Label section type ‘Mr’
In the Name section type OptMr.
Close the properties box, right click on the option button and select control.
Repeat the whole procedure for the other object button, using Mrs instead of Mr.
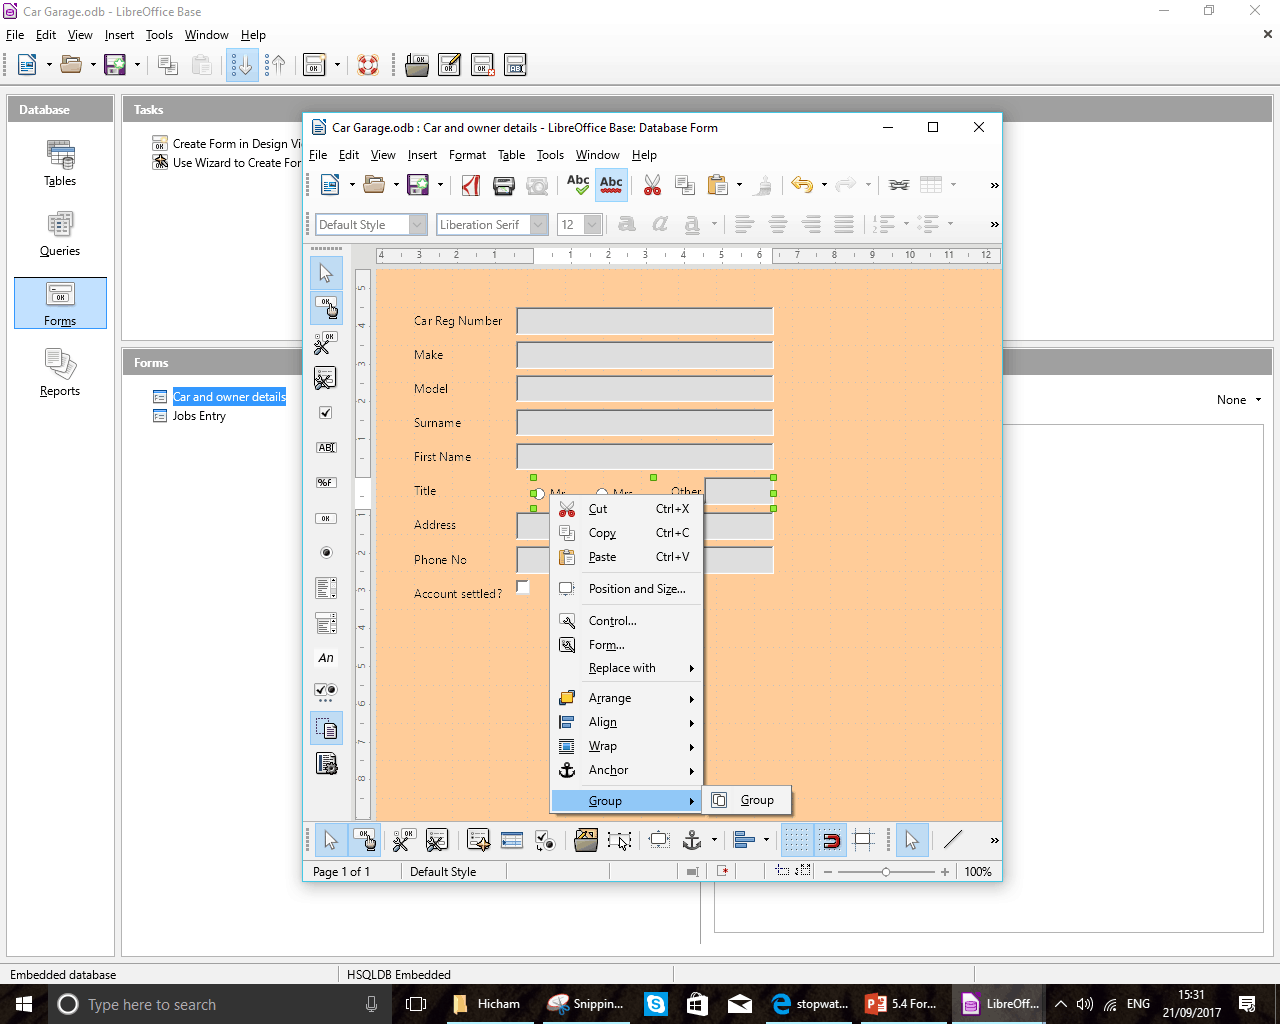
If we left all of the buttons and text box for this title field ungrouped, when filling in the form someone could select Mr and Mrs. To stop this we group the boxes.
Select each option button and the text and label boxes, while holding down shift to select them all.
Right click and select Group->Group from the drop down menu. This means people can only select one option.
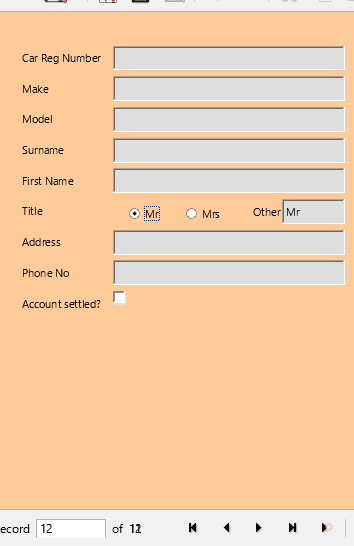
Open the form by double clicking it.
Click on the new record icon.
Try selecting the options Mr or Mrs. Notice that the text box automatically updates.
If you want to enter a different option simply type it into the text box.