Adding Links and Images in HTML
![]() In this lesson we’ll learn some HTML tags that allow us to add links and images to our web pages.
In this lesson we’ll learn some HTML tags that allow us to add links and images to our web pages.
If you haven’t followed the lessons up to now then you should start from the beginning of the course. For this lesson you’ll want to have your “index.html” open in both Notepad and your browser so we can make changes to it and refresh the browser to see them, as usual.
It’s time to start making our webpage a little more functional!
Use the buttons below to navigate through the lesson
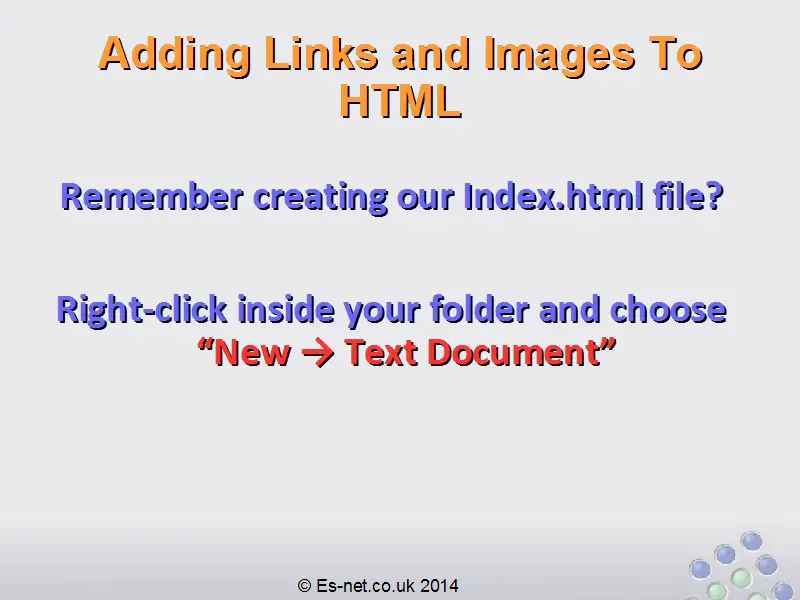
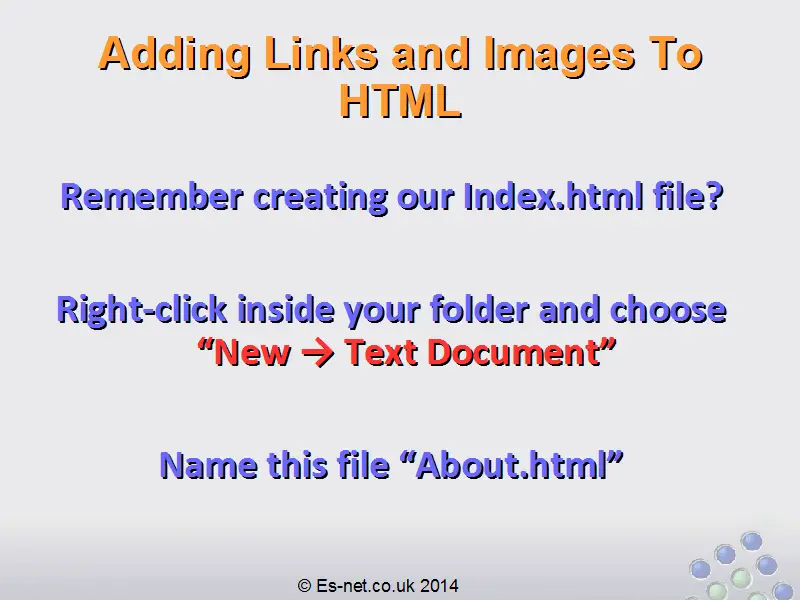
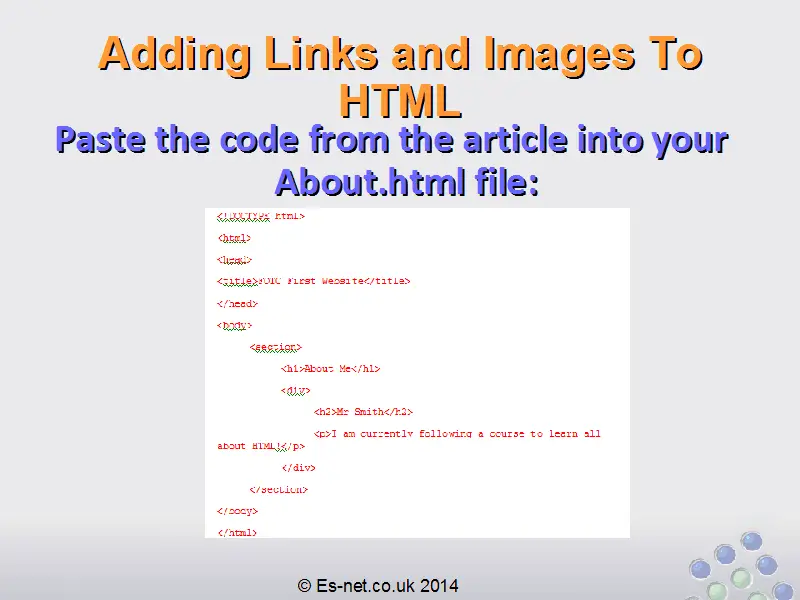
Do you remember how we created the index.html file originally? Right-click inside your folder and choose New -> Text Document. We’re going to repeat this process to create a second html file. Call this file “about.html” and paste the following HTML code inside:
<!DOCTYPE html>
<html>
<head>
<title>FOTC First Website</title>
</head>
<body>
<section>
<h1>About Me</h1>
<div>
<h2>Mr Smith</h2>
<p>I am currently following a course to learn all about HTML!</p>
</div>
</section>
</body>
</html>
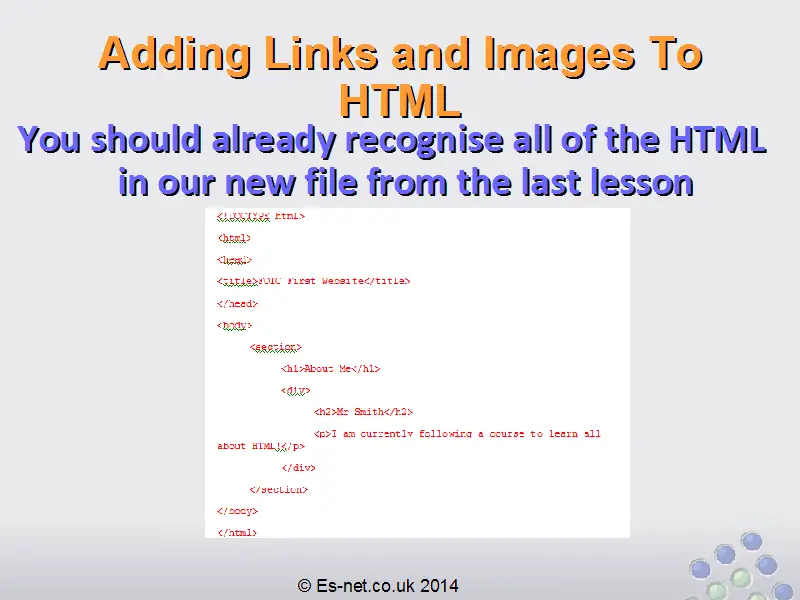
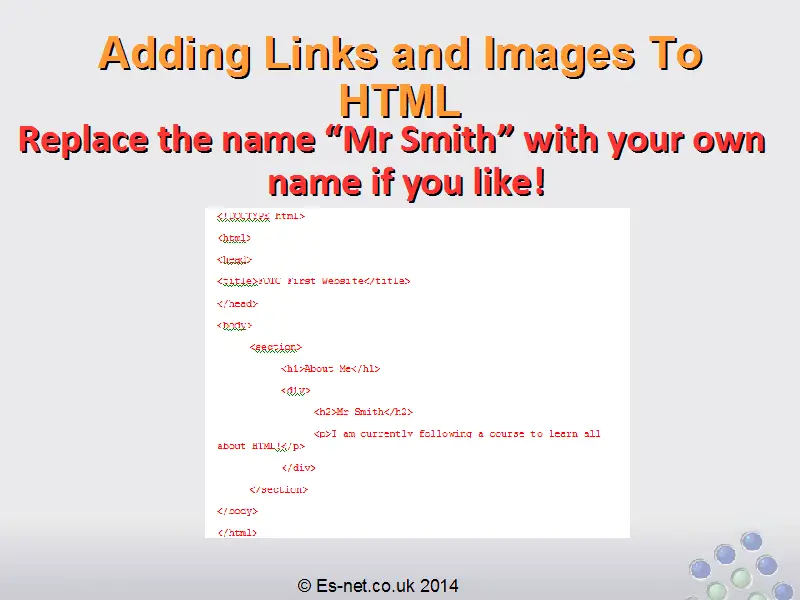
There’s nothing here you don’t already know. We’re just showing different text. You can replace “Mr Smith” with your own name, and say whatever you like about yourself. Make the text in the <p> tag personal!
Let’s add something new – how about a picture of ourselves?
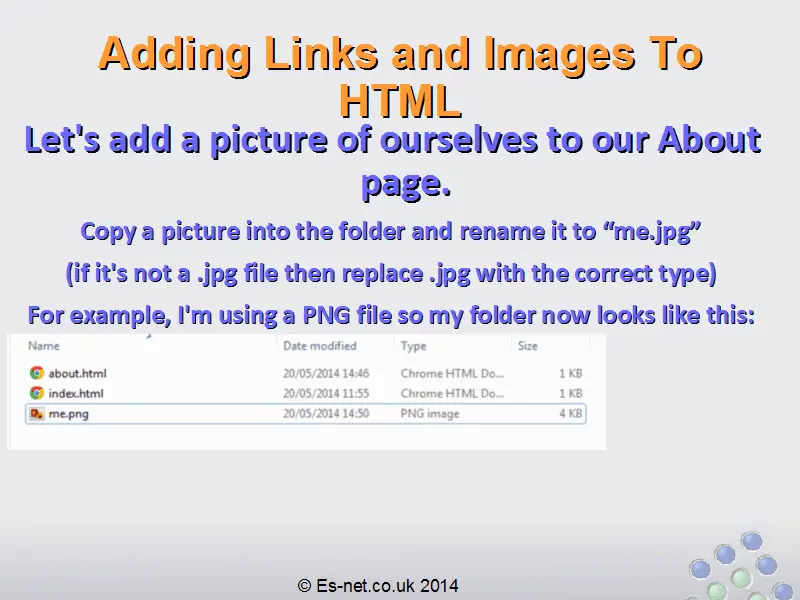
Copy a picture you’d like to display into the folder, and give it the name “me.jpg”. If it’s not a .jpg file then replace .jpg with whatever the current extension for your picture is. I’m using a PNG file so I’ll call it “me.png” like so:

We want to add this image to our About page. To do this we’re going to use a new tag, the <img> tag.
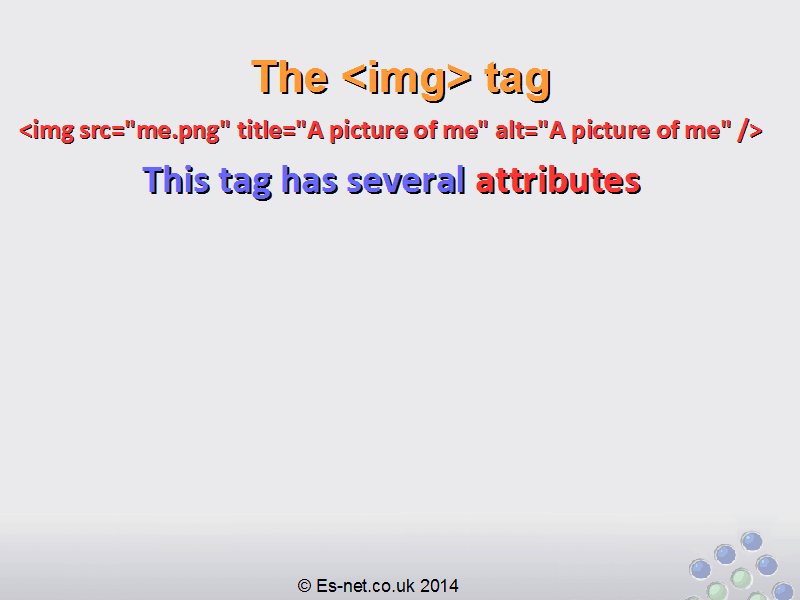
The <img> tag
The <img> tag is a self-closing tag that uses attributes to determine how it displays. If you don’t remember about self-closing tags and attributes then go back and revise our “Introduction to HTML” lesson from earlier in the course.
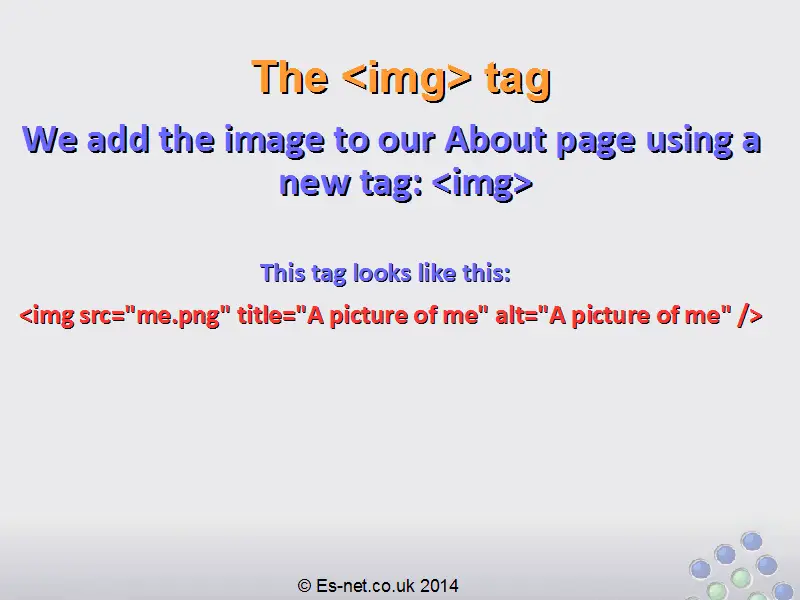
We want to add this tag:
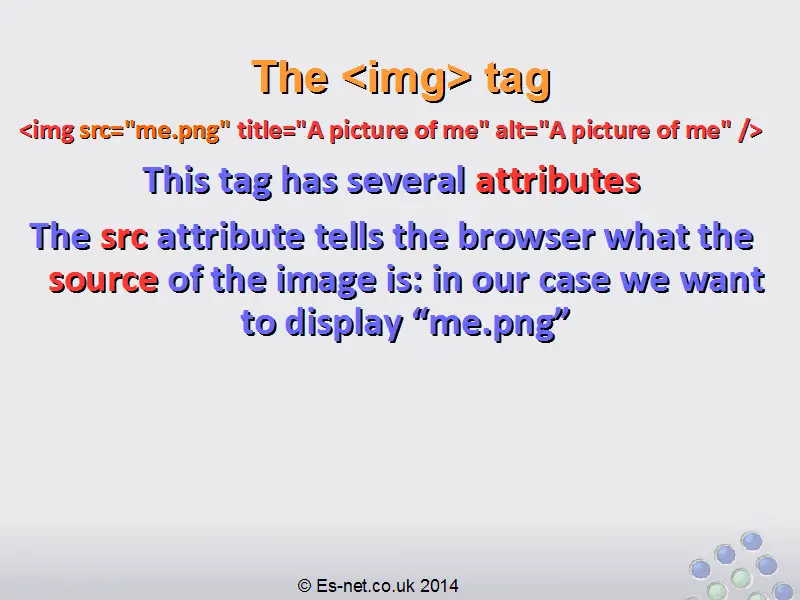
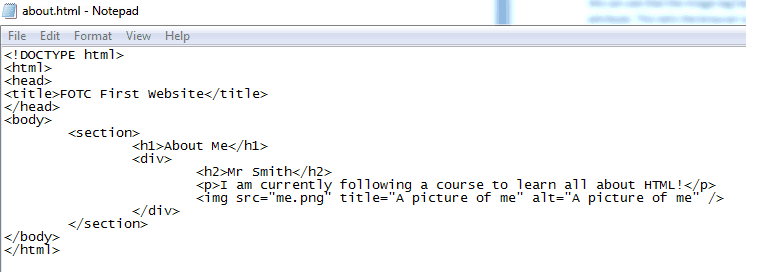
<img src=”me.png” title=”A picture of me” alt=”A picture of me” />
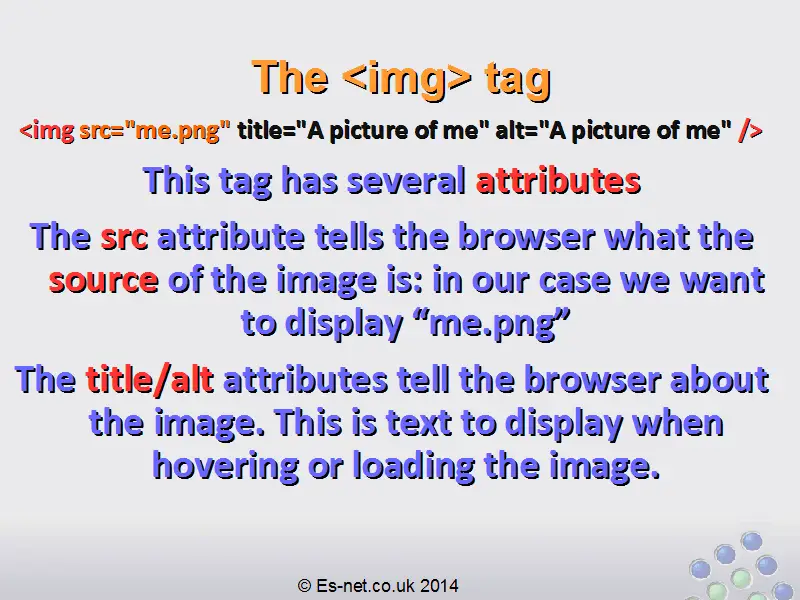
We can see that the image tag has several attributes. Of these, the most important is the src attribute. This tells the browser what the source of the image is – in this case, our image is “me.png”.
The title/alt attributes tell the browser more about the image. When you hover an image with your mouse the title text is displayed, and the alt text displays instead of an image if the browser can’t find the image, or for people who use screen readers to look at the web, such as the visually impaired.
It’s good practice to always include a title and alt attributes, which should describe the image.
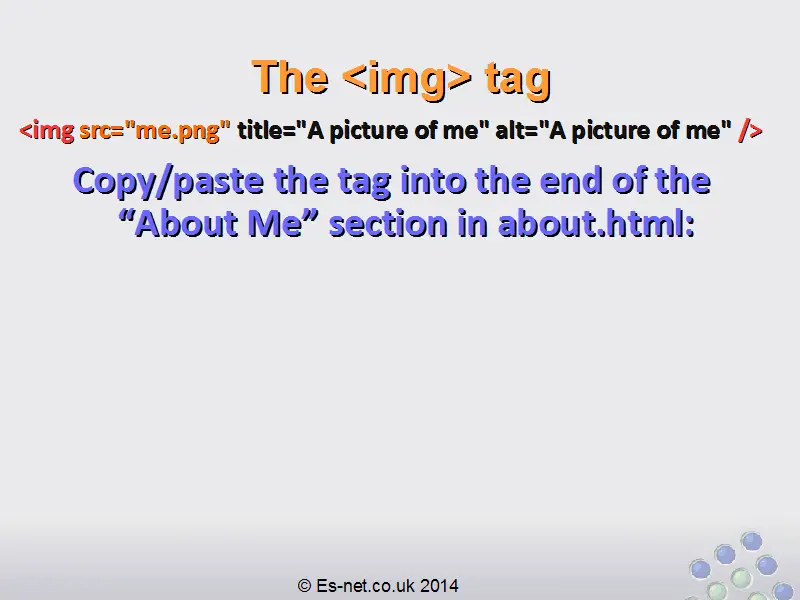
Let’s put the image in at the end of our “About Me” <div>:
<div>
<h2>Mr Smith</h2>
<p>I am currently following a course to learn all about HTML!</p>
<img src=”me.png” title=”A picture of me” alt=”A picture of me” />
</div>
So our HTML should look like this:
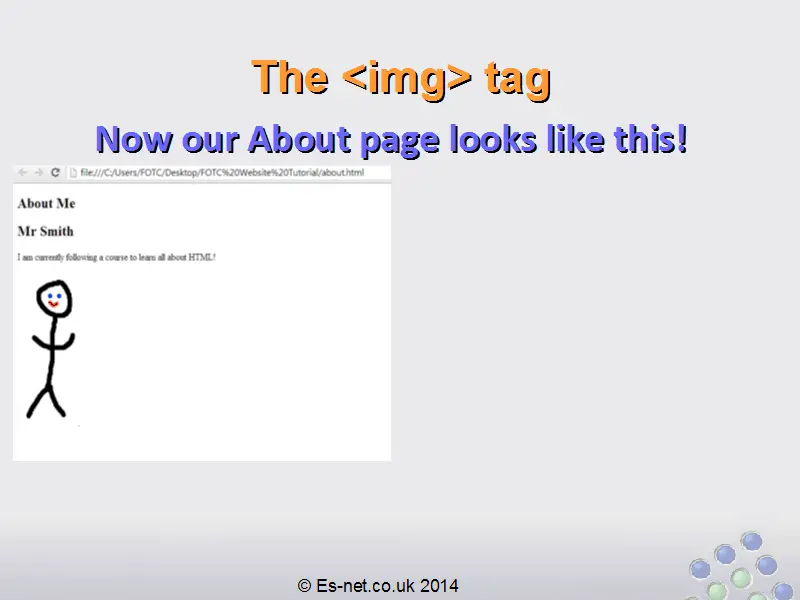
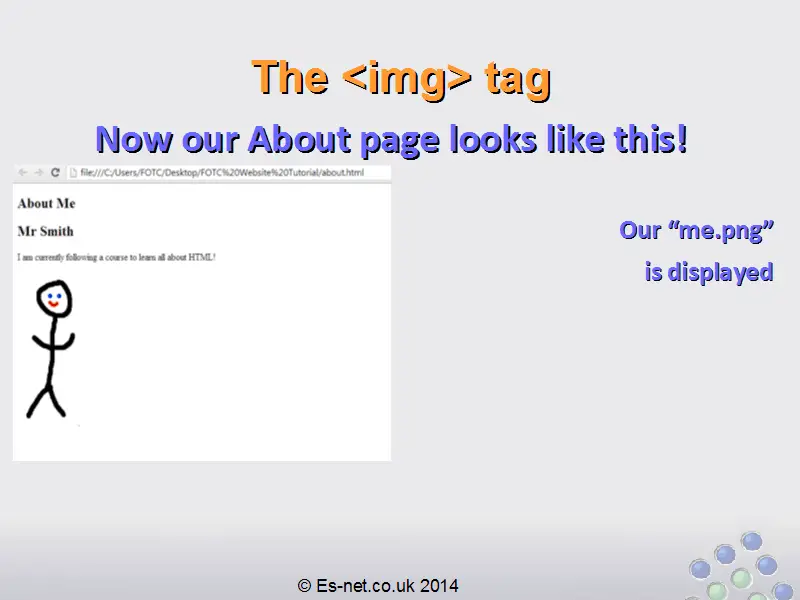
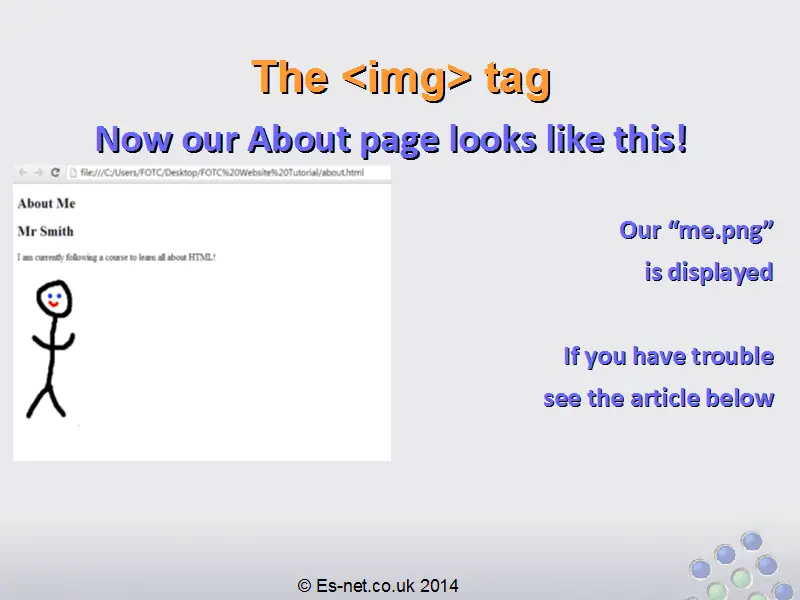
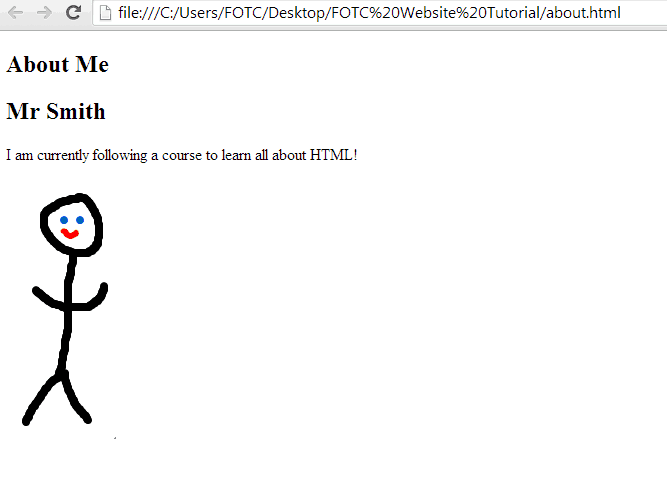
And now our About page looks like this in the browser:
Troubleshooting: If your image doesn’t load properly then use the F12 Developer Tools to see the error. The browser will tell you where it is looking for the image – check that it’s looking in the correct place. If not then you can move your image to where it IS looking, or change your img src to point to where the image actually is. If you see funny characters like %E2%80%9D in your error, then it means your quote marks around the “src” attribute aren’t the right kind of quotemark… try deleting them and typing them again. Sometimes when we copy-paste we copy characters that LOOK the same but the computer treats differently! We will look at why this is in a future lesson.
Next – the <a> tag
So we’ve added an image to our ‘About’ page. But what if we wanted to get between the Index and About pages? We need a LINK.
We all use links all the time to navigate the web – we’re so used to clicking text to take us to other pages we often don’t stop to think about how they work.
Links are just simple HTML tags that tell the browser “when someone clicks here, go to this page”. The tag is the <a> tag – one of the most important HTML tags there is.
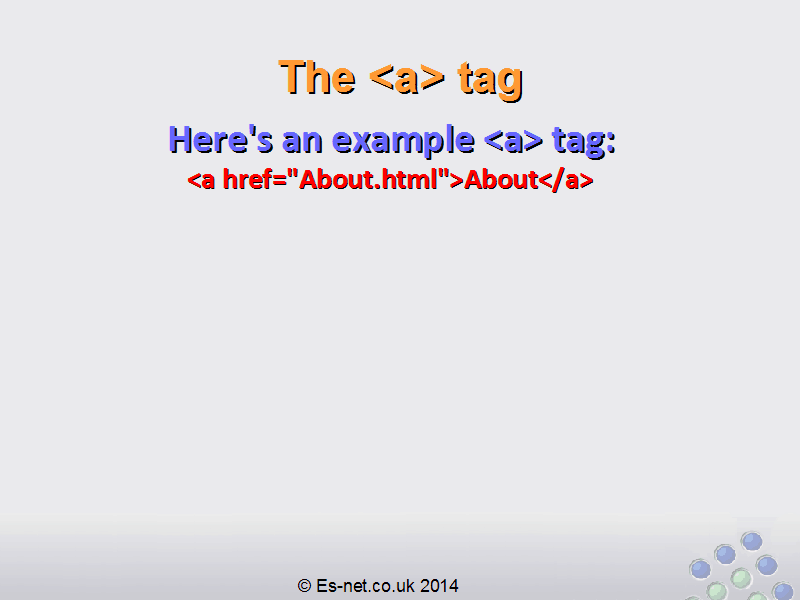
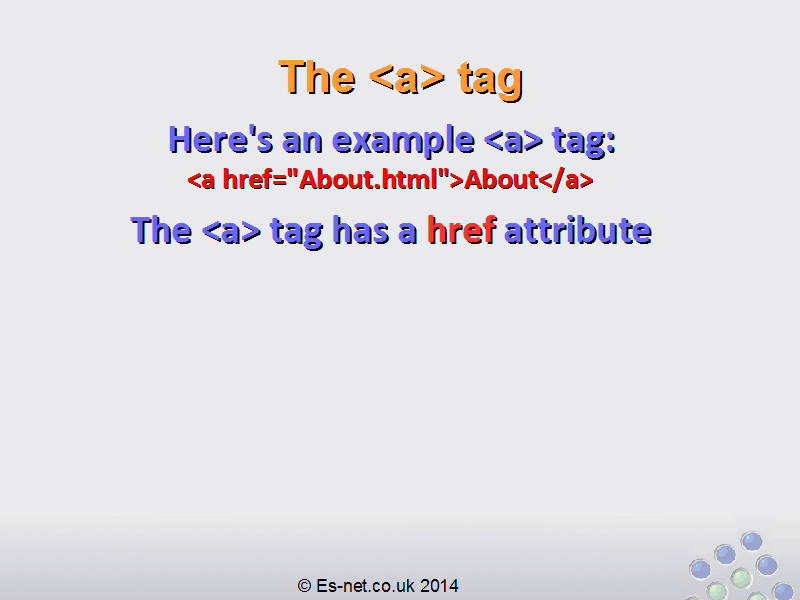
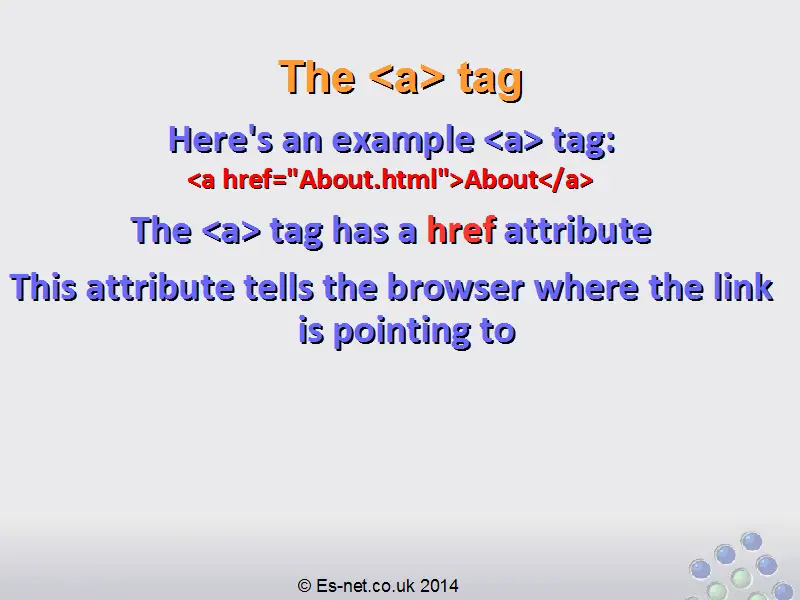
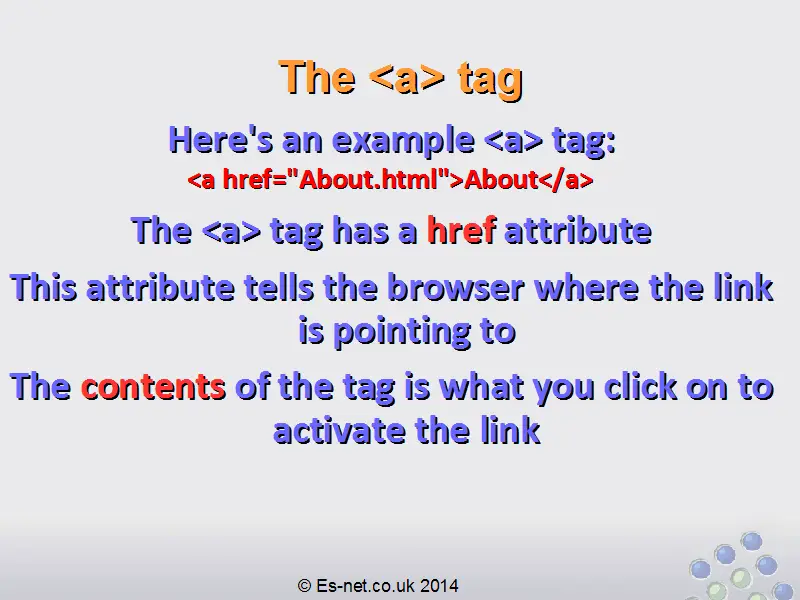
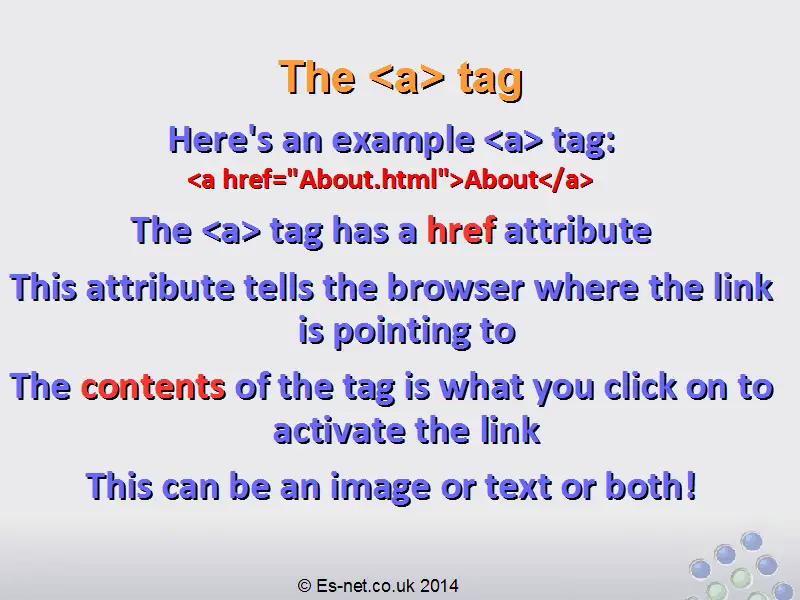
Here’s an example <a> tag:
<a href=”About.html”>About</a>
As you can see, we have another attribute to learn: the href attribute. This tells the browser where the link is pointing to. The contents of the element is what is displayed that you can click on. Of course, this doesn’t have to be just text: if you put an <img> tag inside an <a> tag then the image acts as the link!
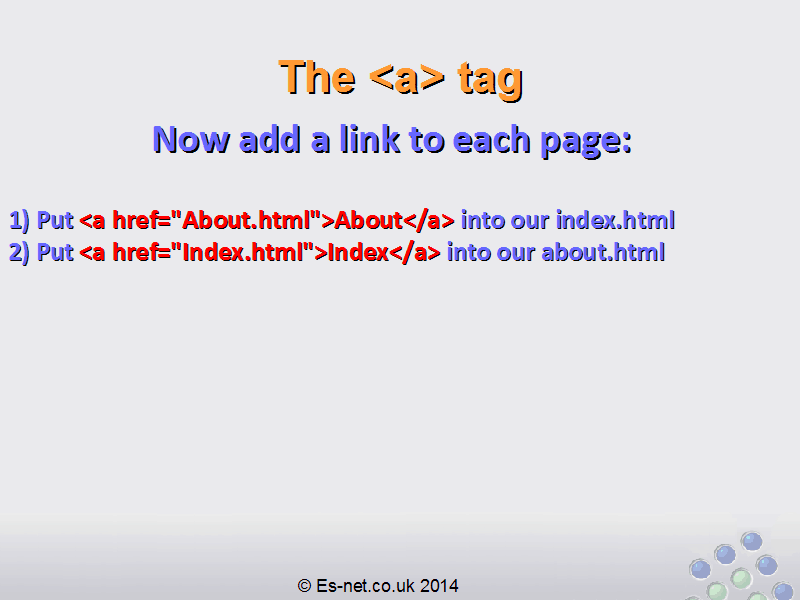
Let’s add one link to each of our pages.
- Put <a href=”About.html”>About</a> into our index.html
- Put <a href=”Index.html”>Index</a> into our about.html
You can put them wherever you like. I’ve added mine before the start of the <section> element, so it looks like this:
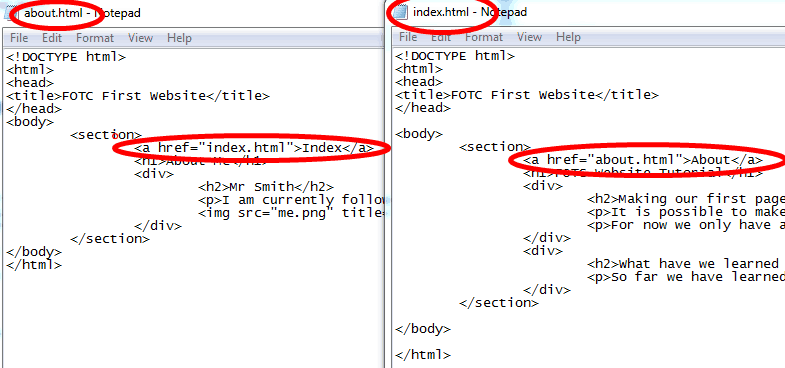
Now our pages both have links, so we can click from one to another!
Save both your files, and hit F5 to refresh. Try clicking from one page to the next, and back again. It’s starting to feel more like a real webpage!

