Advanced Spreadsheets – Paste Special
Use paste special options: add, subtract, multiply, divide.
Paste special options help in making some quick calculations and formatting changes by a special copy paste function. We need to have some data to use the special paste function.


From the available data, simply right-click on any cell and copy that cell to the clip board. Now, say we have another cell which contains some data and we need to subtract these two values, the data in the cell which we have copied from the data in this cell. We will simple right-click on this cell and from the menu will click on ‘Paste Special’.
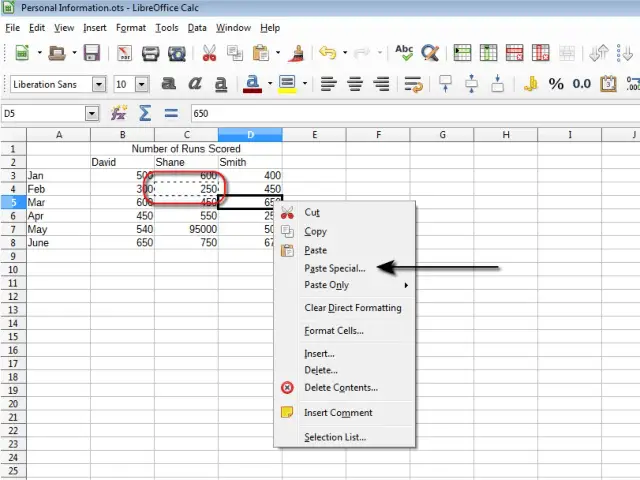
Here, we have copied 250 to the clipboard and have right-clicked on 650. On the click of ‘Paste Special’, the ‘Paste Special’ dialog box opens.
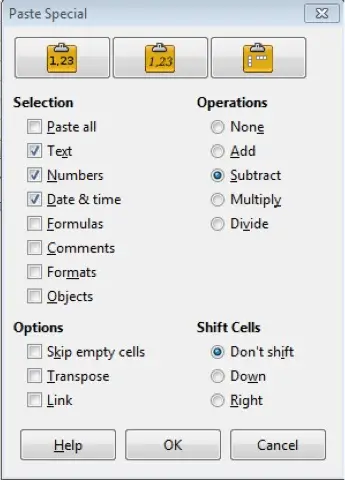
In this dialog, we can select from a variety of available options. Here we want to subtract, so we will select subtract and then click on ‘OK’. The other options can be selected appropriately. On click of ‘OK’, the ‘650’ cell changes to ‘400’ as 250 has been subtracted from 650. The other three operations, addition, multiplication and division, can be carried out in similar manner.
Use paste special options: values /numbers, transpose.
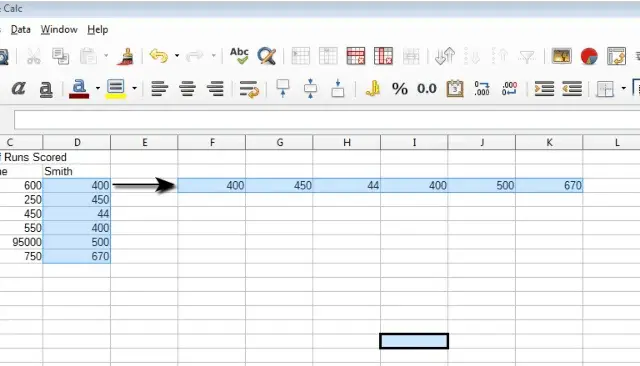
In the ‘Paste Special’ dialog, we have three icons at the top, these icons are for ‘data only’, ‘data and formatting’, and ‘transpose’ functions from left to right.
If we click on data only, then only the data from the selected cell is used for paste operation. If the data and formatting icon is selected, then the formatting of the selected cell is also pasted. If transpose icon is selected, then the transpose operation for a row or a column or both takes place. This means that the rows of the selected range become columns and the columns become rows. This has been shown below.
The same can be achieved by selecting the ‘Transpose’ checkbox under ‘Options’ and then clicking on ‘OK’.