Edit cell content, modify existing cell content.
To edit or modify the content of a cell, double click on that cell. This will enable the editing for that cell. After this, delete the already present data in that cell using the backspace button from the keyboard and enter the new data as per the requirements. This is how the content of a cell can be edited or modified in Calc.
Use the undo, redo command.
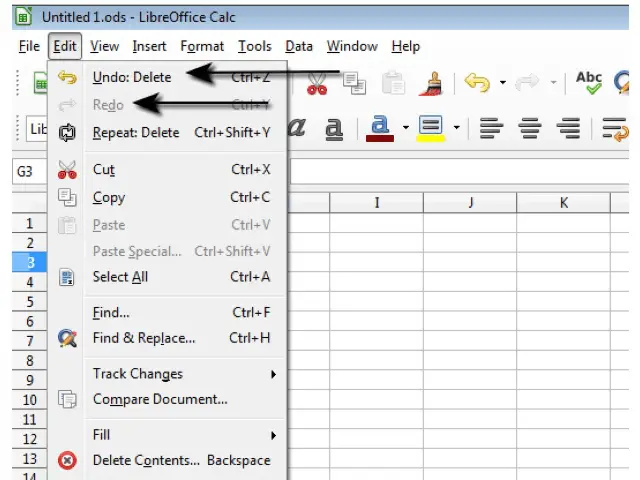
The undo command undoes the effect of the recent changes which were made to the document in such a way so that the most recent change is undone first. The redo command performs the most recent change done to the document again.


To use the undo or redo commands, click on ‘Edit’ from the main menu bar. From the resulting drop-down, click on ‘Undo’ or ‘Redo’ as per the requirement to perform undo or redo respectively.
Use the search command for specific content in a worksheet.
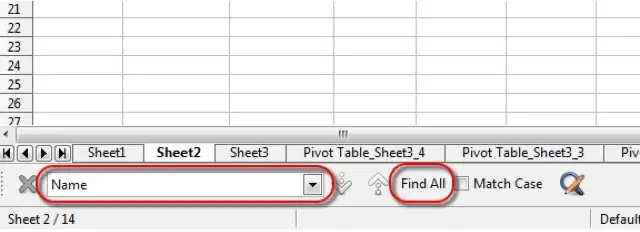
To use the search or find option in Calc, click on ‘Edit’ from the main menu bar. From the resulting drop-down, click on ‘Find’. This displays the ‘Find’ bar at the bottom of the Calc window. Enter the number or text value which you want to find in your spreadsheet here and then click on ‘Find All’.

This will open the ‘Search Results’ dialog, in which the sheet name and position of all the cells is displayed, which contain the search term provided.
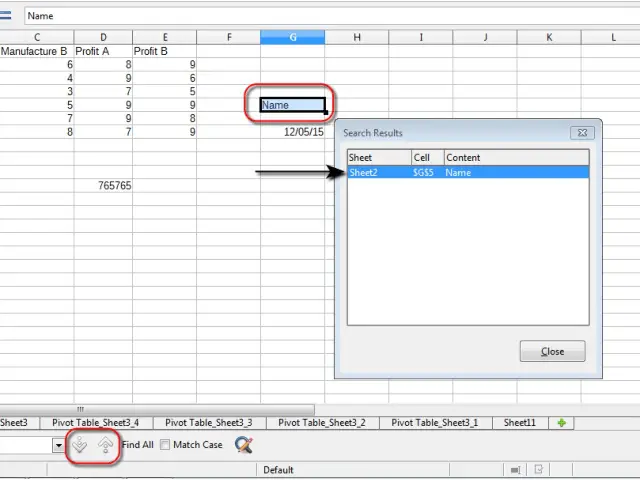
The ‘Find Next’ and ‘Find Previous’ buttons from the ‘Find’ bar can also be used to go directly to the cells which contain the required content.
Use the replace command for specific content in a worksheet.
To use the replace command for some specific content in a worksheet, click on ‘Edit’ from the main menu bar. Then click on ‘Find and Replace’ from the resulting drop-down menu. This will open the ‘Find and Replace’ dialog.
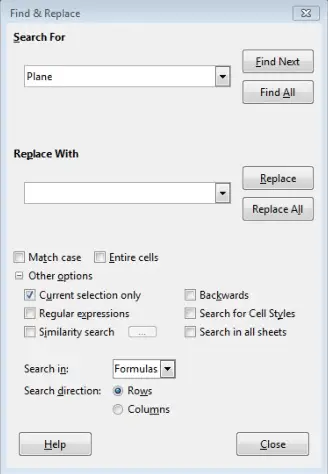

In this dialog, enter the term which needs to be replaced in ‘Search For’ and the term with which this term needs to be replaced in ‘Replace With’. After this, click on ‘Replace’ to change the content of the cells one by one or click on ‘Replace All’ to change the content of all the cells in one go.
There are also some options provided in this dialog which can be selected as per the requirements. These options help in filtering down the data to be searched in the spreadsheet cells. An example is the ‘Match case’ checkbox. This option if enabled will only search for those cells whose data not only matches the content provided in ‘Search For’, but is also in the same case. These options can be viewed by expanding ‘Other options’.
Sort a cell range by one criterion in ascending, descending numeric order, ascending, descending alphabetic order.
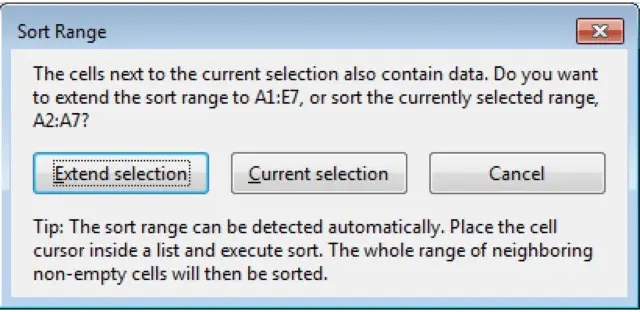
To sort a cell range in ascending or descending numeric order, first of all select that cell range. After this, click on ‘Data’ from the main menu bar. From the resulting drop-down, click on ‘Sort’. This will first open the ‘Sort Range’ dialog box. This dialog will ask if only the selected cells need to be considered or other cells should also be included. Select ‘Current Selection’.

This will open the sort dialog box. Here, select whether the sorting needs to be done in the ascending order or descending order. The sort key also needs to be selected. This is generally the column or row header in which the selected cells lie. After this, click on ‘OK’.
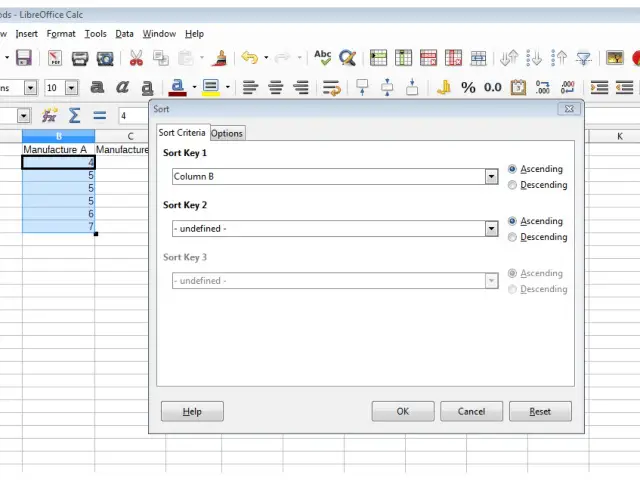
The selected numeric data will get sorted.
To sort textual data in ascending or descending alphabetical order, follow the same steps as mentioned above. Just select the sort key and the order of sorting in the ‘Sort’ dialog box and then click on ‘OK’.
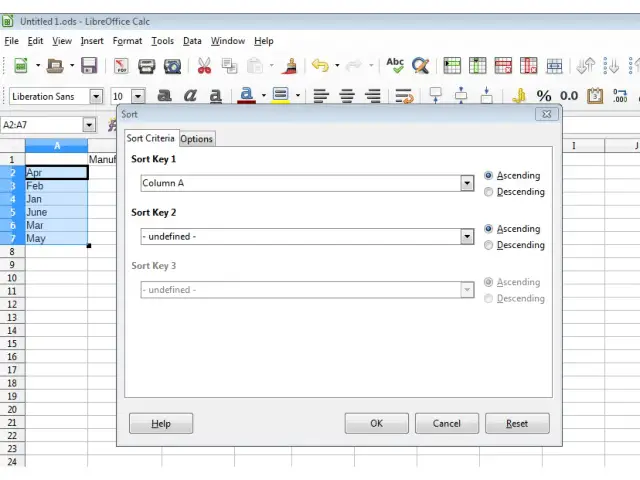
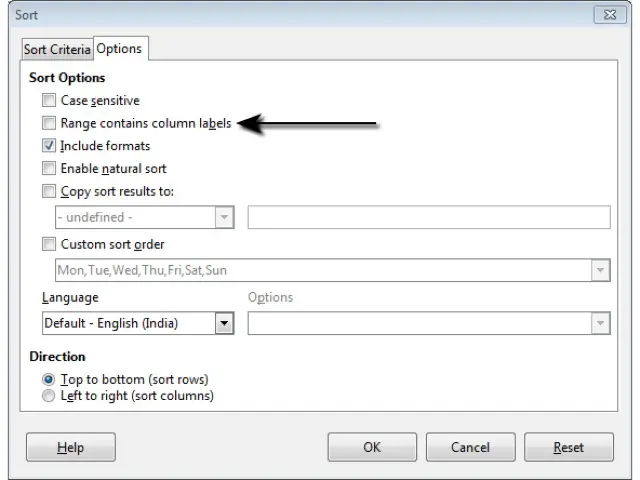
The only thing which needs to be considered is that in the ‘Sort’ dialog box, under the ‘Options’ tab, the ‘Range contains column labels’ option should be unchecked if the selected cell range does not contain the heading for that range.