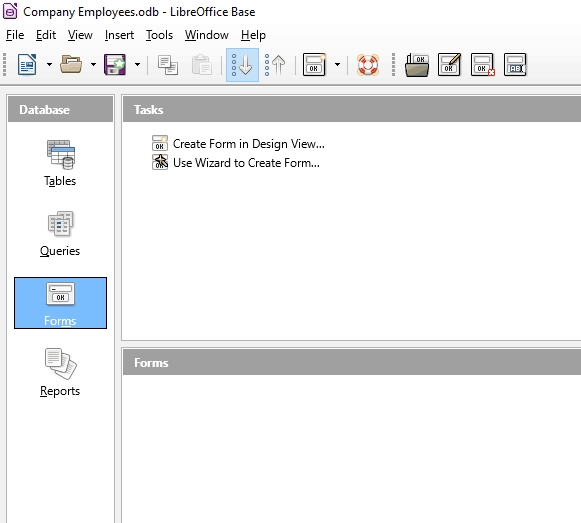
The simplest way to create a new form is to use the ‘Wizard’.
Click the ‘Forms’ section in the Database area of the main window and select ‘Use Wizard to Create Form’ from the Tasks area.

Use the drop-down menu to choose the table you want to display.


Select the fields you want to display by double clicking them in the ‘Available fields’ section one by one. If you want to display all fields, click the ‘fast forward’ icon.
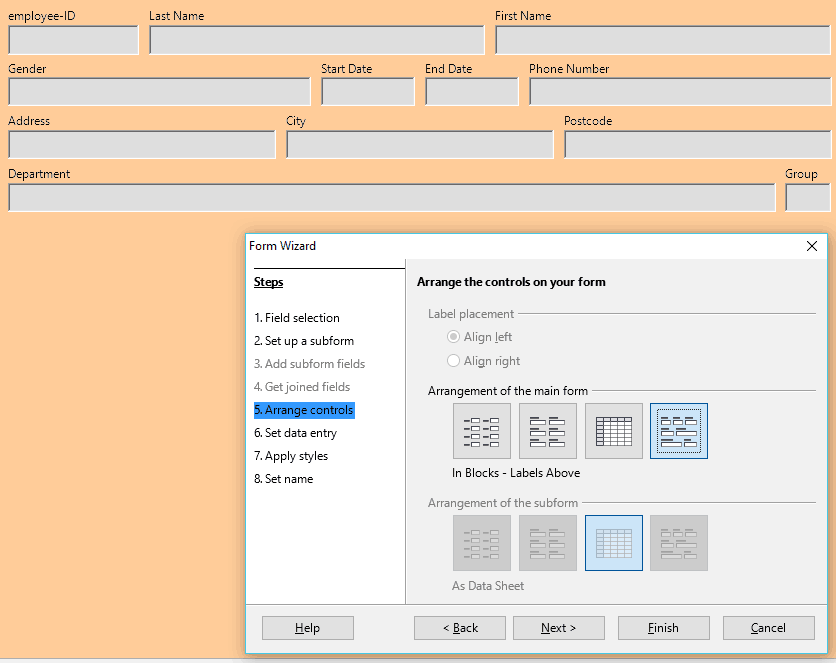

Keep clicking ‘Next’ until you get to ‘5. Arrange controls’ menu.
Try clicking on the different ‘Arrangement of the main form’ icons until you find a display you like.
You can also change the label placements by clicking align left or right.
Once you’re happy with the layout, click ‘Next’.
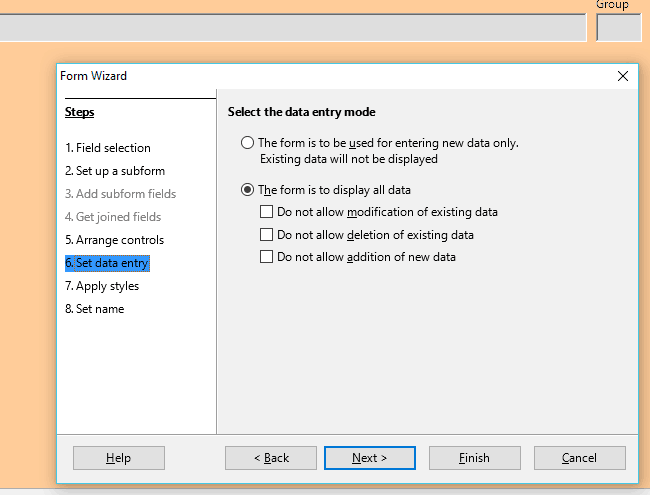

If you want the form to be used for entering new data only, with no existing data shown, click the top option.
If you want all data to be shown, click the bottom one.
You can also check or uncheck options to disallow modification, deletion or addition of new data, depending on your needs.


Click Next until you get to the ‘Apply styles’ menu.
Click to change the background colour of the form. You can also change the style of the field border.
Click ‘Next’ when done.
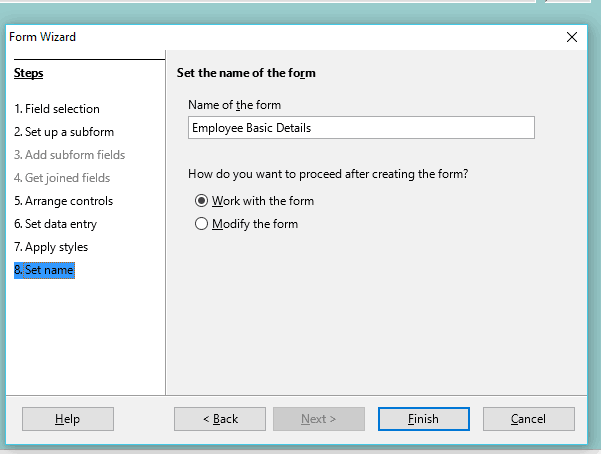

Name the form by typing in the dialogue box. You can use the same name as the used table if you like (this is the default).
If you want to do some further modifications in ‘Form Design View’ select ‘Modify the form’.
If you want to start using the form select ‘Work with form’ and click ‘Finish’.