Advanced Word Processing – Record a Simple Macro
Record a simple macro like: change page setup, insert a table with a repeating heading row, insert fields in document header, footer.
A macro is a saved sequence of commands or keystrokes that are stored for later use. The LibreOffice macro language is very flexible, allowing automation of both simple and complex tasks. Macros are especially useful to repeat a task the same way over and over again.


To learn how to record a simple macro, we need to take a simple example. Here we are going to create a macro for inserting fields into a document header.
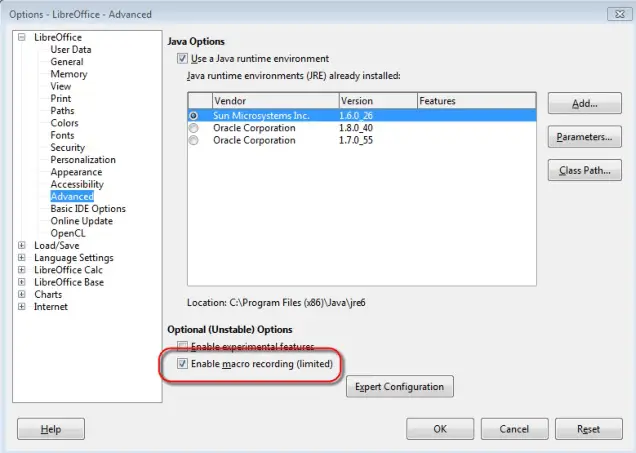
To record a macro, first of all we have to make sure that macro recording has been enabled for the document. This can be checked by clicking on ‘Tools’ from the main menu bar. From the resulting drop-down, click on ‘Options’. This opens the ‘Options’ dialog box. In this dialog box, under ‘LibreOffice’, we have an option ‘Advanced’. Here we have a checkbox called ‘Enable macro recording (limited)’. This checkbox must be checked in order to be able to record macros in Writer.
After the macro recording has been enabled, go to the page where the field to the header needs to be inserted. Now click on ‘Tools’ from the main menu bar. From the resulting drop-down, click on ‘Macros’ and from the resulting sub-menu, click on ‘Record Macro’. This will open the ‘Record Macro’ dialog box.
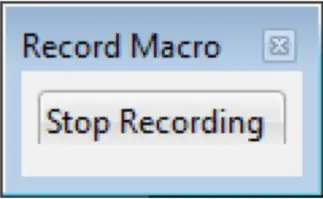
In this dialog box, we have a ‘Stop Recording’ button. Once this dialog is open, start working on inserting a field to the page header. Once you are finished, click on ‘Stop Recording’. This will open the ‘LibreOffice Basic Macros’ dialog box.
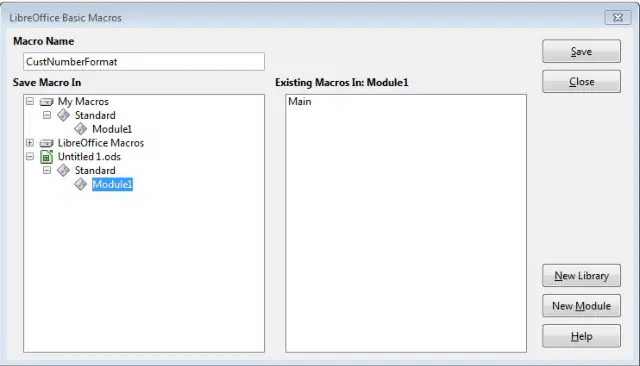
In this dialog box, select the location where you want to save the macro. Here we are going to select the name of the document, which is ‘Untitled1.ods’. Under this name we have the ‘Standard’ library. In this library create a new module by clicking on the ‘New Module’ button. After creating the module, click on the module name and enter a new name for the macro under ‘Macro Name’. After entering the name, click on ‘Save’. This will save the macro.